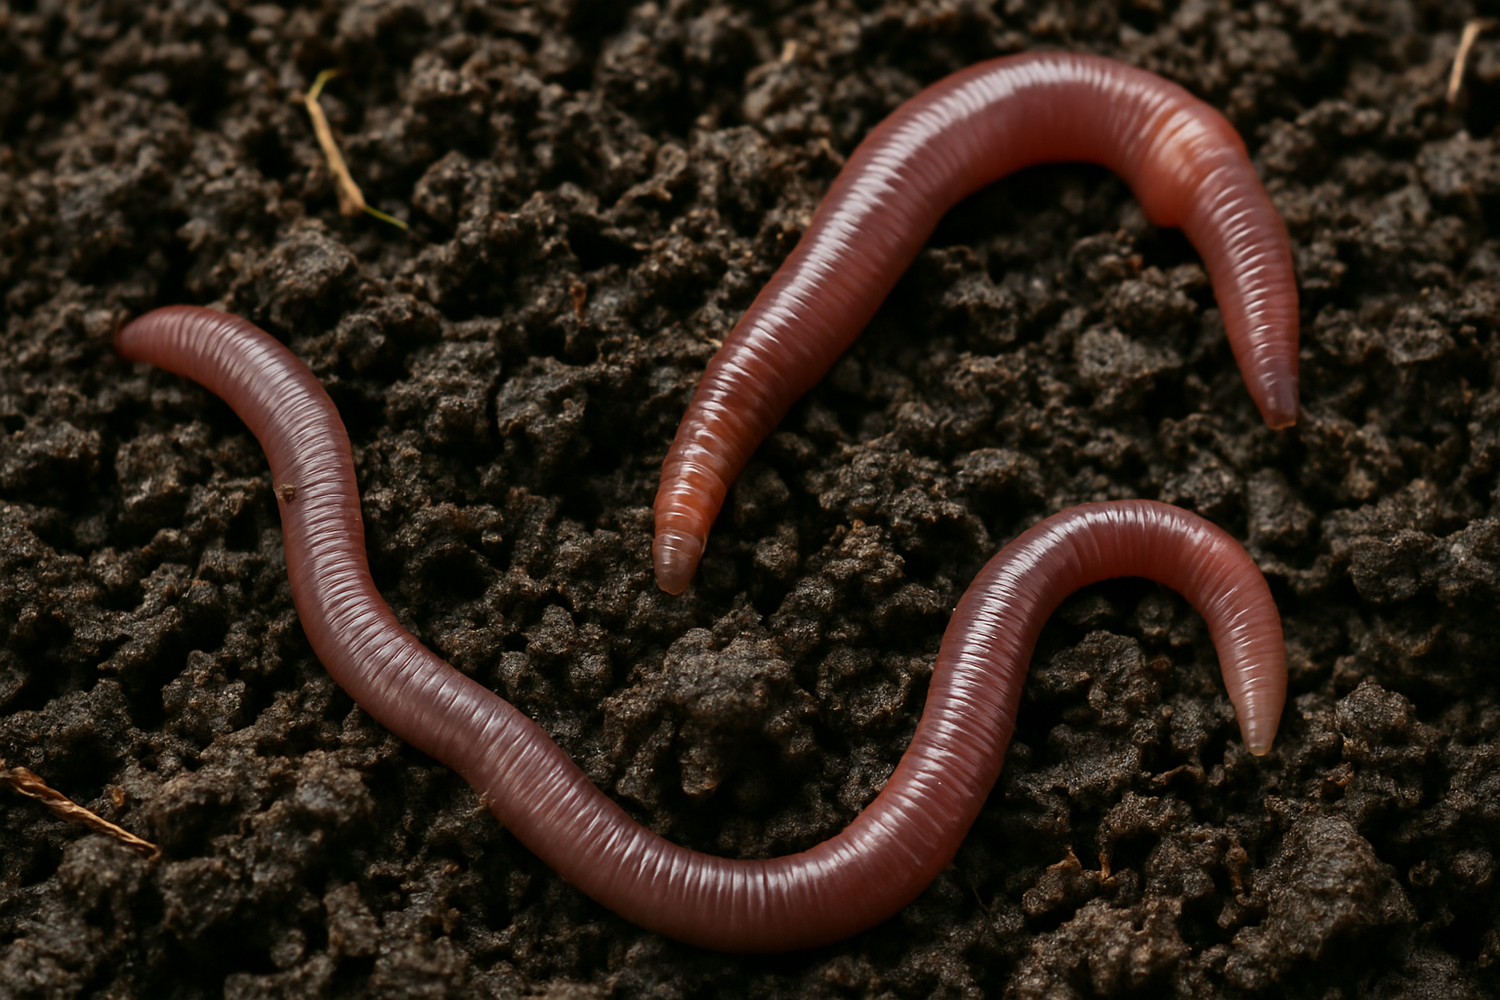
Your trash can be your treasure, whilst you are wondering how to make your own worm castings naturally.
Why Make Your Own Worm Castings?
Sure, you could buy a bag of worm castings online (hey, we sell them on memesworms.com, but we’re not mad). Here’s why going DIY might be worth your while:
- Save money (especially if you have a big garden or lots of houseplants).
- Reduce food waste by turning scraps into soil boosters.
- Elevates soil health significantly by establishing a healthy organic ecosystem.
“Both microbial respiration and biomass were significantly greater in the CP treatment compared to EW treatment… All cast and compost amendments significantly increased wheat P and K uptake compared to either the non-amended control or the mineral fertilizer treatment.” says a study by the University of Maine by Chaoui, et al.
3 Steps on How to Make Your Own Worm Castings Naturally at Home
Step 1: Get the Right Worms
For composting at home, red wigglers are needed. They are scientifically known as Eisenia fetida. They are total workhorses when it comes to munching through your scraps. You can find them easily online and offline.
Step 2: Build a Worm Bin
The thought of how to make your own worm castings naturally shouldn’t give you a head ache. A basic plastic storage bin with a few holes will do just fine. Think of it as a tiny worm apartment complex. It’s that simple.
- Size-wise: For a beginner a medium bin is plenty.
- Location: Worms are picky about the weather. Keep their home cool. Ideally it should be indoors (or any shaded patio corner). They like the 55–80°F range.
- Airflow is crucial: Worms breathe through their skin (yes, really), so you’ll need to give them some ventilation. A few holes near the top and bottom should do the trick—no steamy worm saunas allowed.
- Pro tip: Go vertical with stacking bins if you’re tight on space or want easier harvesting.
Step 3: Create a Cozy Worm Bed
Start with 4–6 inches of bedding material:
- Shredded newspaper (black-and-white only. Avoid color, or it will leach into the soil.)
- Coconut coir
- Some garden soil
How to Use Worm Castings in Your Garden?
How to make worm castings? In a diy style.
In her blog, Christine Covino claims that worm castings give you a “+200% Increase in Yield”.
Let us delve into how to make your own worm castings naturally in fun and easy ways.
1. Put It Into Your Potting Soil
Your plants indeed deserve the best. Thus, treat them with love and care. Worm castings work wonders when mixed into your potting soil. They will give the soil a lovely texture and help it drain better. Most importantly, feed your plants a steady diet of nutrients.
What to do: Fill a container of your favourite potting soil and add a generous ¼ part of worm castings to ¾ soil.
Why it works: The castings help in better absorption of healthy microbes and nutrients that your plants need to grow. Their growth will be robust, thereby lowering the chances of debilitating diseases. They help the soil retain just the correct amount of moisture, so that the plants never feel overwatered or underwatered.
“... use worm castings with hungry plants… ” says The Compost Magazine.
2. Dressen Up Your Healthy Houseplants
Wondering how to make your own worm castings naturally whilst relocating newly sprouted plants? This is exactly when you will be needing the worm castings the most.
When roots are immature and visible, they need everything they possibly can.
What to do: Sprinkle a small amount of casting in the planting hole before relocating the plant.
The Compost Magazine suggests us to, “avoid using worm castings with young seedlings. Worm compost is very nutritious, but the nitrogen levels may be too high for young…”
Why it works: Why it's effective: Seedlings require a boost of nutrients. Worm castings help them easily absorb the nutrients they contain. They also create a beneficial microbial community around the root. Make sure your plant is getting a healthy childhood.
3. Add It to Seedling Trays or Transplant Holes
A seedling tray has a larger surface area. Using them in your plants’ nursery helps multiple seedlings get equal nurture and nutrients.
Make sure there are holes under the tray for adequate absorption and drainage. By the time you transplant them, their roots will sprout through the holes.
4. Some Bonus Tips for Using Worm Castings:
Once you have mastered how to make your own worm castings naturally, the question remains about how you can make it a sustainable practice with good habits.
-
Less is more: Worm castings are rich and release slowly. You can use it sustainably for a long time. They are nutrient-dense and must be used accordingly.
-
Mix it with other good things: You can try pairing worm castings with other organic fertilizers. Experiment with crushed dried bones for an extra nutrient punch.
- Store Them Right: Keep them in a cool, dry spot. Avoid heat and direct sunlight. The better you store them, the better they perform. Once dampened, they lose their potency.
Also Read: How to Use Worm Castings
Feeding the Worms?
Feed the red wiggler worms well before you start wondering how to make your own worm castings naturally. Make sure they get nutrients like nitrogen, carbon, calcium, etc.
Now more on their palette. Worms have a sensitive diet; thus, you must avoid high pH and oily food. Chop scraps small for faster breakdown, and always bury food under bedding to keep smells and fruit flies away.
|
Element |
Presence in Earthworm Castings |
Functions in Plants |
Additional Notes |
|---|---|---|---|
|
Nitrogen (N) |
High concentrations |
- Promotes leafy and vegetative growth - Essential for amino acid and protein synthesis |
Deficiency causes yellowing of leaves (chlorosis); critical for early plant growth. |
|
Phosphorus (P) |
Enriched levels |
- Stimulates root growth and flower/fruit formation - Supports energy transfer through ATP - Encourages early plant maturity |
Deficiency leads to stunted growth and purplish leaves. |
|
Potassium (K) |
Abundant presence |
- Improves fruit quality, taste, and shelf life - Enhances resistance to pests and diseases - Regulates water and nutrient transport |
Deficiency causes browning or curling of leaf edges. |
|
Calcium (Ca) |
Moderately present |
- Strengthens cell wall structure - Aids in root and leaf development - Activates enzymes and neutralizes toxic substances |
Lack of calcium can lead to blossom end rot in fruits like tomatoes. |
|
Magnesium (Mg) |
Present in trace amounts |
- Central component of chlorophyll (necessary for photosynthesis) - Helps in enzyme activation - Supports phosphorus metabolism |
Deficiency shows as yellowing between leaf veins (interveinal chlorosis). |
Data as per the International Journal of Plant & Soil Science.
Things you can feed the worms:
- Fruit & veggie scraps (no citrus peels) — Apple cores, banana peels, or melon rinds. Citrus peels are too acidic for them. So are any overly fibrous stuff like avocado pits.
- Coffee grounds and filters — It's the most powerful duo for composting. The filters must be paper-based. Doing so, worms get a boost of nitrogen.
- Crushed eggshells — They are best for calcium and balance the pH in the worm bin. All the overtly acidic or basic compounds in the pit will gradually neutralise.
- Tea bags (no plastic ones) — Tea bags are usually paper-made. Remember, plastic is trash too in the worm's world.
- Oatmeal, rice, and bread (in small amounts) — Sprinkle in a very small amount now and then. The starch helps them thrive.
Things you should avoid:
- Meat, dairy, and oily food — Plants have a difficult time breaking down protein-based external sources like meat, dairy, or fat-enriched oily food. It might lead to a pest problem. Avoid everything greasy or fleshy.
- Onion and garlic (too harsh) — They have compounds that mess with the worms' delicate systems.
- Citrus (too acidic) — It can disturb the whole ecosystem of your worm bin. Stick to the softer and less acidic fruits.
- Pet waste — That’s a big no! Pet waste from carnivores can contain harmful bacteria that’s not safe for your worms.
Checkout our below video to know more about what your worms need and what they don't:
Conclusion
Hopefully, now you have full clarity on how to make your own worm castings. Every good thing takes time. With proper nutrition and nurture, we all thrive. Be patient with your garden, especially when you have just learnt how to make worm castings. Respect the ecosystem of your garden, treat it well, and it shall reward you!


Leave a comment
All comments are moderated before being published.
This site is protected by hCaptcha and the hCaptcha Privacy Policy and Terms of Service apply.