


Let’s be honest: worm composting at home doesn’t get the hype it deserves. It’s not flashy. It’s not trendy. And unless you’ve already fallen down the compost rabbit hole, it probably sounds… well, a bit gross.
But once you get into it? Game changer.
This isn’t just about turning banana peels into dirt. It’s about creating a living, breathing ecosystem that quietly transforms your kitchen waste into black gold for your plants. And it’s not complicated. You don’t need a science degree. Just a bin, the right worms, and a little curiosity.
This is your worm composting guide—zero fluff, 100% doable. Whether you’re trying vermicomposting for the first time or troubleshooting a half-hearted DIY worm bin from last year, this blog has your back.
What Is Worm Composting?

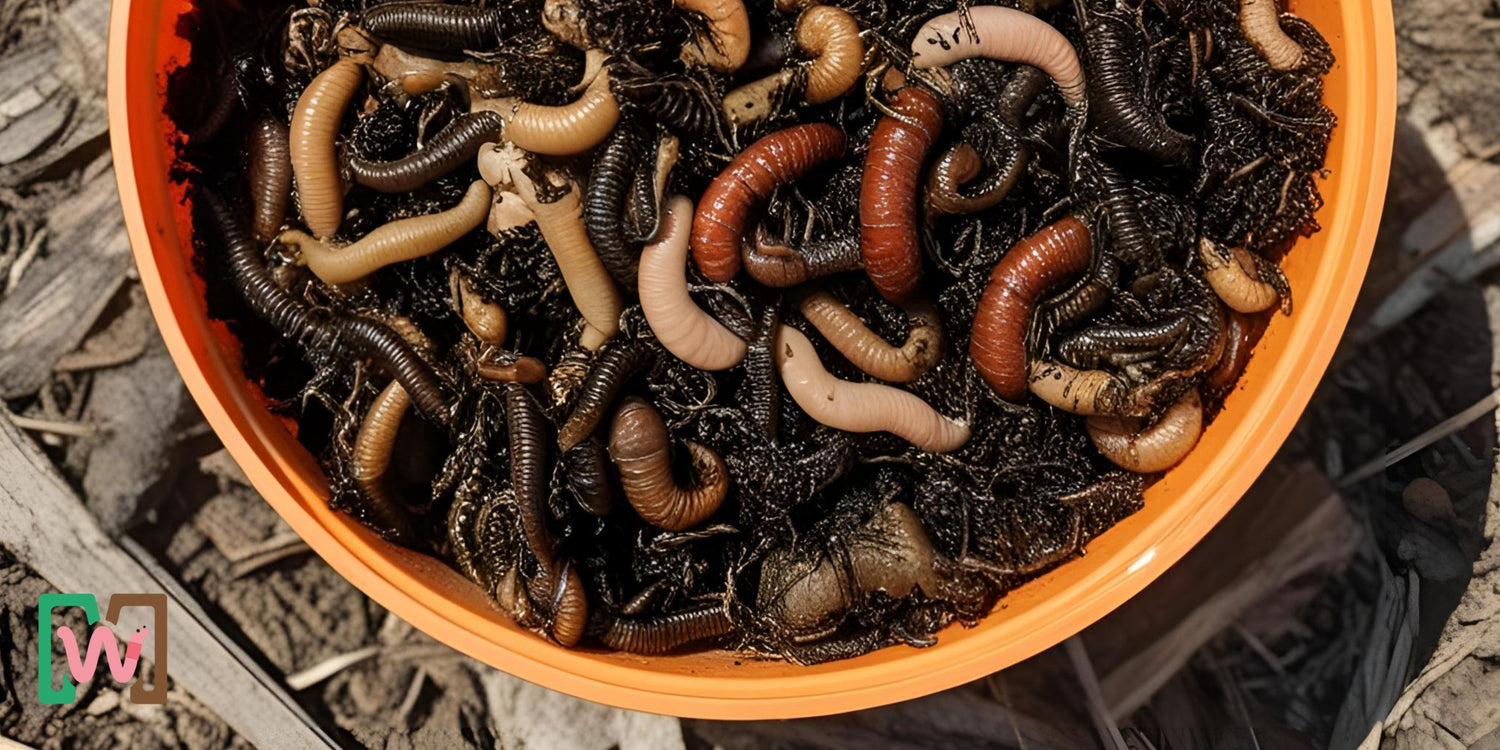
The best worms for composting are used to break your kitchen scraps into live, breathing soil.
At its center? A cycle as simple as this: you provide the worms with your leftovers, and they pay you back with nutrient-dense castings. It ain't glamorous, but it's potent. These castings are full of microbes and nutrients that support plant growth in ways chemical fertilizers can't.
In contrast to other compost piles requiring heat, space, and months of anticipation, a DIY worm bin composting system operates directly in your house—no yard needed. It's quicker, less pungent, and pretty much addictive after you get going.
Sure, it might feel a little strange at first. But give it time. You'll wonder why you didn't start sooner when you see how your herbs, veggies, or house plants respond to that dark, crumbly magic.
Choosing the Right Worms
Here’s the deal: not all worms are ready for compost duty.
The random ones you dig up in your backyard? Wrong team. You need worms built for life in a bin—worms that love crowded, messy, decaying conditions.
Enter red wigglers (Eisenia foetida). These little overachievers are the gold standard for vermicomposting. They’re surface dwellers, fast eaters, and compost like it’s their full-time job. They can eat half their weight in scraps each day and don’t mind sharing space with thousands of their wiggling friends.
If you’re just starting out and want to skip the guesswork, use a pre-made setup like the Ready to Go Ecosystem from Meme’s Worms. It comes with the red wigglers and everything they need. You just add food and curiosity.
Setting Up Your DIY Worm Bin

You don’t need a backyard or garden. You can start worm composting at home in a plastic tub under your sink, a DIY tote on your balcony, or even an in ground worm tower in your backyard. Check our worm bin set up guide.
What you need:
• A dark, ventilated bin with drainage holes
• Bedding material (we’ll get to that)
• A quiet corner that stays between 55–77°F
If you’re going DIY, drill small holes in the top and bottom of a plastic container. Want something a bit more hands-off? Plenty of stackable worm bins are available online, or dig a simple in ground worm tower for a practical self-maintaining outdoor setup or get a worm bin starter kit. Checkout our basic worm bin video:
Bedding Materials Explained

Before you feed your worms, you’ve got to make them comfortable. Bedding is more than filler—it’s their home base.
Best bedding for DIY worm bins includes:
• Shredded newspaper or cardboard (no glossy ink)
• Coconut coir
• Peat moss (sparingly)
• Aged leaves or straw
Bedding should be moist, not soggy. Aim for the feel of a wrung-out sponge. Not too dry, not too wet—worms breathe through their skin, and air + moisture = happy composters.
Feeding Your Worms
Time for the fun part: turning food scraps into soil.
What worms love:
• Fruit and veggie peels
• Coffee grounds (filters included)
• Tea bags (staple-free)
• Crushed eggshells
• Bread, rice, pasta (in moderation)
What to avoid:
• Citrus, onions, garlic (too acidic)
• Meat, bones, dairy (hello, bad smell)
• Processed snacks or anything salty
• Oils, fats, or sugary junk
Worms aren’t picky, but they do need balance. Cut scraps into small pieces to help them break down faster. Start small. If food is left uneaten for days, you’re feeding too much. Cover scraps with bedding to prevent fruit flies and odors.
Troubleshooting Common Problems
Even low-maintenance bins can have off days. Here’s how to handle the usual hiccups:
Solution: Remove excess food, mix in dry bedding, and aerate the bin.
Worms are trying to escape.
Check temperature, pH, and moisture. New bins may take a few days to stabilize.
Bury food deeper. Add a layer of dry bedding over the surface.
Worms clumped in corners or on the lid.
They may be too hot, too cold, or stressed. Adjust bedding moisture and bin location.
Mold or uneaten food.
Normal in small amounts, but a sign to cut back on feed and stir your bedding more often.
Harvesting the Compost

You’ve fed them. You’ve cared for them. Now it’s time to collect that sweet, earthy compost.
After about 3–6 months, you’ll notice the bin filling with dark, crumbly material. That’s your worm compost, and it’s ready to go.
How to harvest:
• Migration method: Push all contents to one side. Add fresh bedding and food to the empty side. Worms will move over in a few days. Scoop out the finished compost.
• Light method: Dump the bin onto a tarp in bright light. Worms will burrow downward. Remove the top layer of compost gradually.
Use your finished compost as:
• A top dressing for houseplants
• Soil booster for vegetables and herbs
• Mix-in for potting soil or raised beds
A little goes a long way to get the best worms for composting.
Month by Month Maintenance Calendar
January–March: Keep the bin warm. Feed slightly less if worm activity slows.
April–June: Worms are hungry. Feed more often. Check moisture weekly.
July–August: Heat alert. Keep bins out of direct sunlight. Mist bedding if it dries out.
September–October: It's a great time to harvest compost and reset your bin.
November–December: Worms slow down. Feed less, but monitor moisture and ventilation.
Worm composting isn’t high-maintenance. A quick weekly check-in is usually all you need.
Still confused about your steps, here is our step by step guide for how to make worm castings at home: https://memesworms.com/blogs/news/how-to-start-worm-composting
FAQs About In-Ground Vermicomposting
What are the best worms for home composting?
Red wigglers (Eisenia fetida) are the top choice for vermicomposting. They thrive in bins and eat quickly.
What should I avoid putting in my worm compost bin?
Skip anything too oily, salty, spicy, or animal-based. Stick to fruit, veggies, and natural scraps.
How often should I feed my worms?
Start every 3 days with a small handful. Adjust based on how quickly they eat it.
How do I know when the worm compost is ready to harvest?
It looks like rich, dark soil with no visible scraps. It smells earthy, not sour.
Can worm composting be done indoors?
Yes! Many people keep bins under the kitchen sink or in a utility closet. It’s clean, compact, and odor-free when managed properly. Arguably, the best way on how to compost with worms.
Final Thoughts
Worm composting isn’t just about reducing waste. It’s about building a loop where nothing is lost and everything feeds back into the cycle.
It’s one of the few habits that shrinks your trash, feeds your garden, and reconnects you with the way nature actually works.
So, whether you’re composting on a balcony or managing an in ground worm tower, know this: you’re making a difference. Quietly. Every day.
Hope our worm composting guide could help you with your composting with worms!
And if you’re ready to jump in without guesswork? The Ready-to-Go Ecosystem with Eisenia fetida from Meme’s Worms makes starting easy, whether you’re a plant parent or a composting convert.


Leave a comment
All comments are moderated before being published.
This site is protected by hCaptcha and the hCaptcha Privacy Policy and Terms of Service apply.