


If you’ve ever wondered whether worm farming is worth it — or even possible — you’re not alone. Many people come to me asking how to start a worm farm and whether it can be more than just a hobby.
I’m Samantha, but most people call me Meme. I raise composting worms every day in real worm bins and production systems. I’ve also killed more worms than most beginners will ever own. That’s how I learned what actually matters — and what doesn’t.
This guide is here to show you how to start a worm farm the right way, whether you’re learning how to start a worm farm from scratch or planning ahead for something bigger, like a business.
Whether your goal is:
- composting at home
- building a small side income
- or learning how to start a worm farm business long term
No hype. No shortcuts. Just real-world vermiculture basics that work.

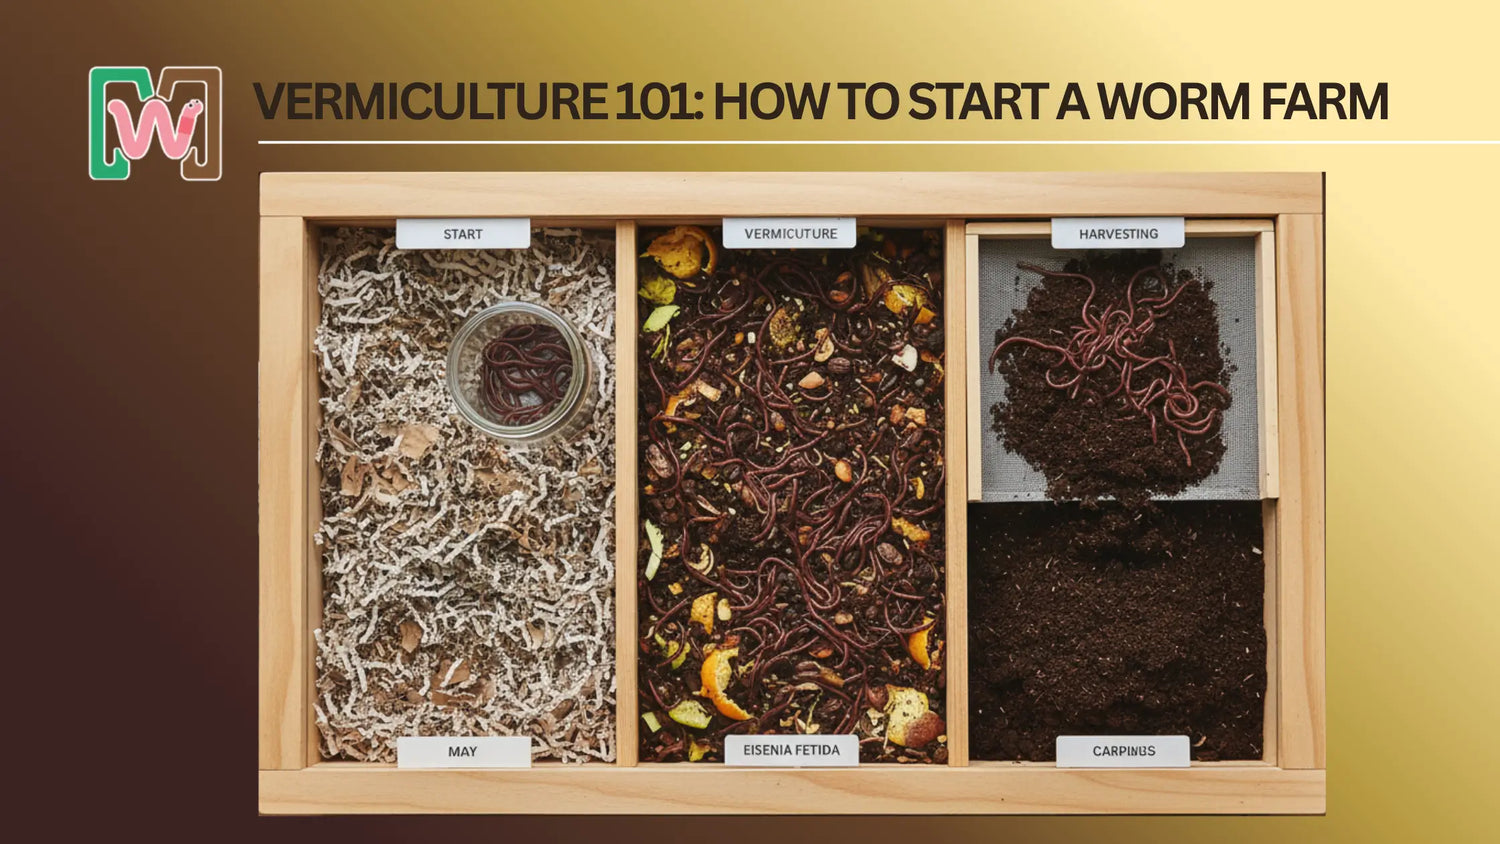
What Is Vermiculture?
Vermiculture is the practice of raising worms to break down organic material into nutrient-rich compost, often called worm castings. This is the foundation behind how to set up a worm farm correctly.
In simple terms:
- Worms eat organic matter
- Microbes break it down
- Worms turn it into castings
- Castings improve soil health
If you’re brand new to worms and trying to understand how to start a worm farm from scratch, this foundational guide helps:
👉 6 Fundamental Requirements For Success With Worms
Can Anyone Start a Worm Farm?
Yes — and that’s one of the biggest misconceptions I see when people ask how to start a worm farm.
You do not need:
- land
- expensive equipment
- farming experience
You do need:
- the right worms
- a stable environment
- patience
Most people fail not because worm farming is hard, but because they overcomplicate how to set up a worm farm in the beginning.
Business vs Hobby: What’s the Difference?
The setup is almost the same. The difference is scale and consistency — especially if you’re thinking about how to start a worm farm for profit.
Hobby Worm Farming
- One or two bins
- Focus on household composting
- Learn worm behavior
- Low pressure
Business Worm Farming
- Multiple bins or systems
- Consistent feeding and harvesting
- Tracking inputs and outputs
- Focus on worm health at scale
Most people who successfully learn how to start a worm farm business begin as hobbyists first. The best worm farm businesses usually start small.
Choosing the Right Worms to Start a Worm Farm
From experience, this decision matters more than any other step when learning how to start a worm farm for profit or long-term success.
Red Wigglers (Best for Beginners)
Red Wigglers are the most forgiving composting worms.
Why I recommend them:
- Handle mistakes better
- Reproduce quickly
- Thrive in bins
- Ideal for beginners and scaling a worm farm business
👉 Learn more about care here: Caring for Red Wigglers
European Nightcrawlers (Next Step)
European Nightcrawlers are larger and live longer, but reproduce more slowly.
They’re a good option when:
- You want larger worms
- You’ve already learned bin basics and how to set up a worm farm properly
👉 Must Read : Advantages of European Nightcrawlers
What Do You Need to Start a Worm Farm?
You don’t need fancy gear. Start simple — especially if you’re learning how to start a worm farm from scratch.
Basic Setup
- A breathable bin or tote
- Bedding (shredded cardboard, paper, or bedding blends)
- Moisture control
- Food scraps (fed lightly)
- Composting worms
DIY Worm Bins, easy and inexpensive. Start Your Vermicomposting Adventure Today!
Where Should You Keep a Worm Farm?
Where you place your bin matters whether you’re starting a hobby or figuring out how to start a worm farm business.
Worms like:
- darkness
- steady temperatures
- moisture balance
Good locations:
- basements
- laundry rooms
- garages (if temperature is stable)
Avoid:
- direct sun
- freezing temps
- overheating
👉 Temperature matters more than most people realize when setting up a worm farm:
Ideal Environment for Composting Worms
Feeding Worms the Right Way
This is where most beginners struggle when learning how to start a worm farm.
Rules I follow:
- Feed small amounts
- Wait until food is mostly gone
- Bury food lightly
- Add dry bedding regularly
Overfeeding causes smells, pests, and worm loss — and it’s one of the fastest ways to fail when trying to start worm farm business systems.
👉 If your bin smells, start here:
Banishing Bad Smells: Your Guide to Worm Composting Bin Odors
How Long Does It Take for a Worm Farm to Become Productive?
This is an important question for anyone researching how to start a worm farm for profit.
This depends on:
- worm species
- temperature
- feeding habits
- patience
In general:
- 30–60 days to stabilize
- 90 days to see steady composting
- 6+ months for consistent harvests
Worm farming rewards consistency, not speed.
Can You Make Money Worm Farming?
Yes — but not overnight. Anyone serious about how to start worm farm business needs to understand this upfront.
Successful worm farming businesses focus on:
- healthy worms
- reliable systems
- repeat customers
- education and trust
If you’re thinking long-term about how to start a worm farm business the right way, this guide helps:
👉 How to start a worm farm on a shoestring budget
Common Beginner Mistakes (Learn From Mine)
I’ve made every mistake below so you don’t have to — especially when starting from scratch.
- Overfeeding
- Overhandling worms
- Letting bins get too wet
- Ignoring temperature swings
- Expecting fast profits
👉 Avoid the most common issues here:
New to Worm Composting? Avoid These 5 Beginner Mistakes
Final Thoughts
Vermiculture isn’t complicated — but it does require respect for the process.
When you understand how to start a worm farm, keep conditions stable, and stop chasing shortcuts, worm farming becomes one of the most reliable and rewarding systems you can build — whether as a hobby or a business.
I learned that by doing it the hard way. You don’t have to.


Leave a comment
All comments are moderated before being published.
This site is protected by hCaptcha and the hCaptcha Privacy Policy and Terms of Service apply.