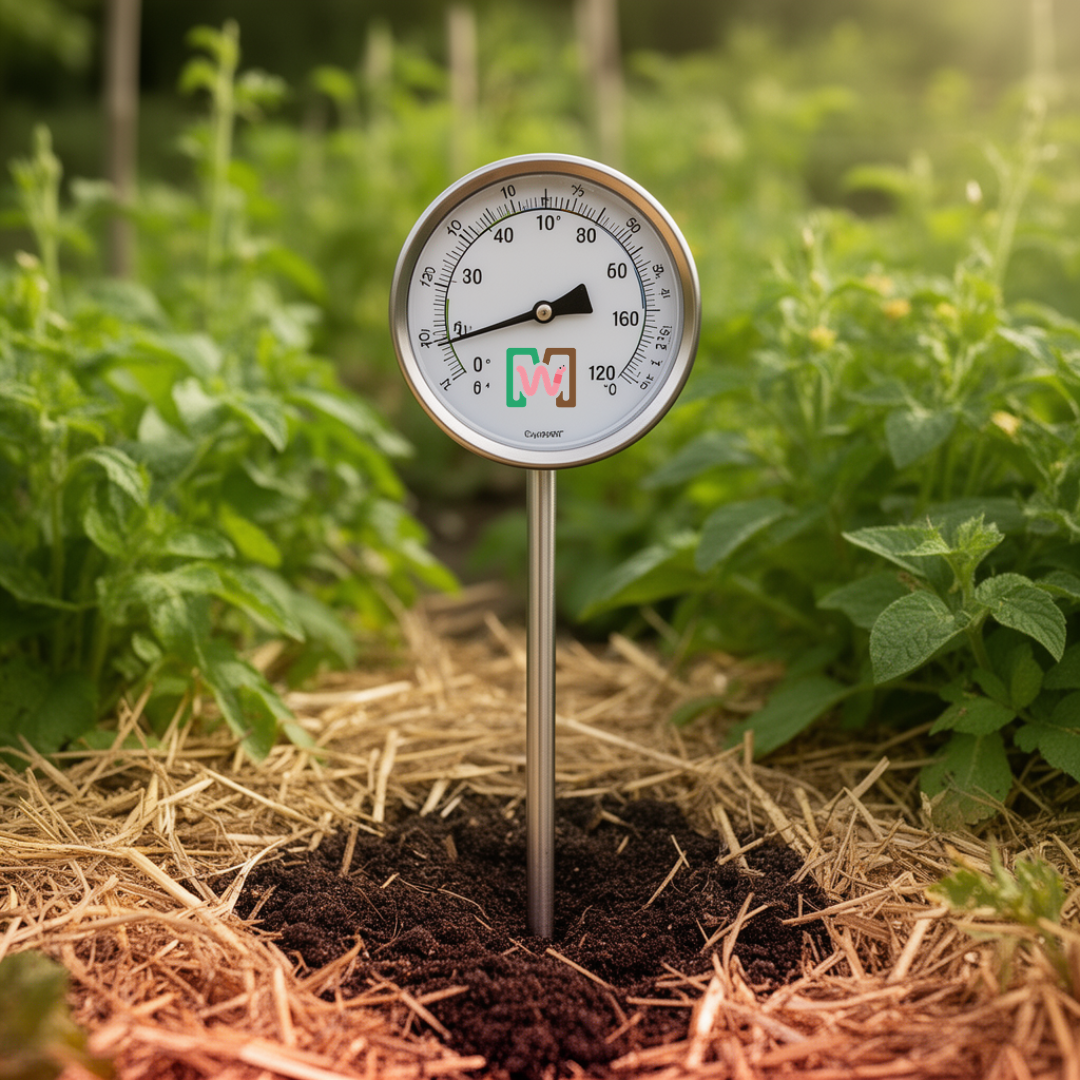
IMHO this thermometer is a must have. I am often surprised to see how hot my bin is getting. I then take measures to cool it down before any harm comes to my little wormies. I wouldn't know when corrective action is needed if I didn't have the thermometer.

How to Setup a Worm Bin?
Hi, I'm Samantha, but most folks around here just call me Meme. I run Meme's Worms right here in Valdosta, Georgia, and I have been raising and selling composting worms for years. I have helped thousands of beginners set up their very first worm bin, and I can tell you this: it is not as hard as it sounds.
A worm bin is a container where worms live and eat your food scraps. The worms break those scraps down into something called worm castings, which is one of the best natural fertilizers you can put in your garden. This whole process is called vermicomposting. According to the United States Department of Agriculture, vermicomposting is the process by which worms convert organic material into a rich soil amendment called vermicompost or worm castings. It is a clean, odor-free way to recycle your kitchen waste right at home.
In this guide, I am going to walk you through exactly how to start a worm bin step by step. I will also answer one of the most common questions I get, which is how to start a compost bin without worms if you are not ready for the worm route just yet. Let's get into it.
Buy Supplies
What You Will Need Before You Start
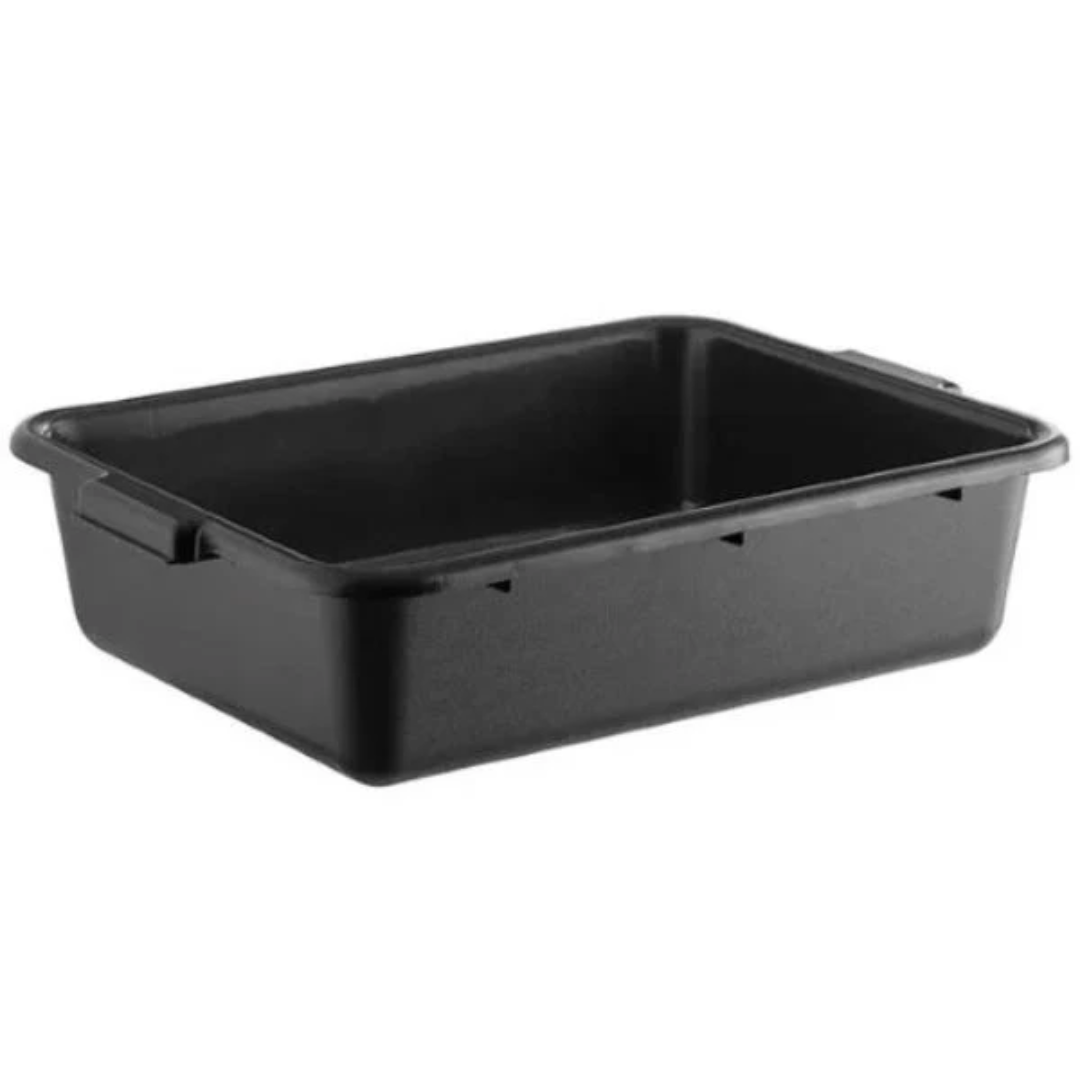
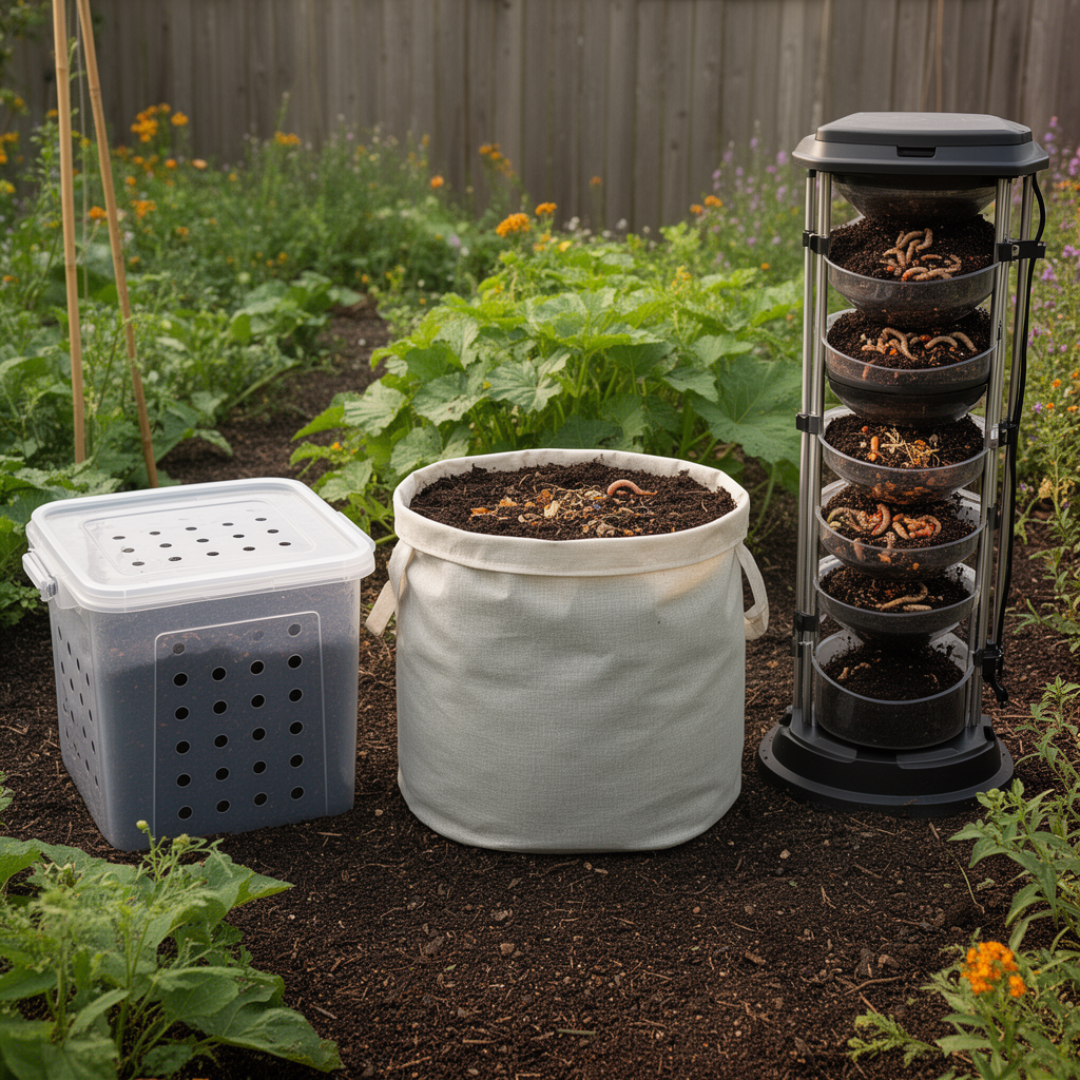
- A worm bin -- this can be a plastic bin, a fabric grow bag, or a flow-through system like a Hungry Bin
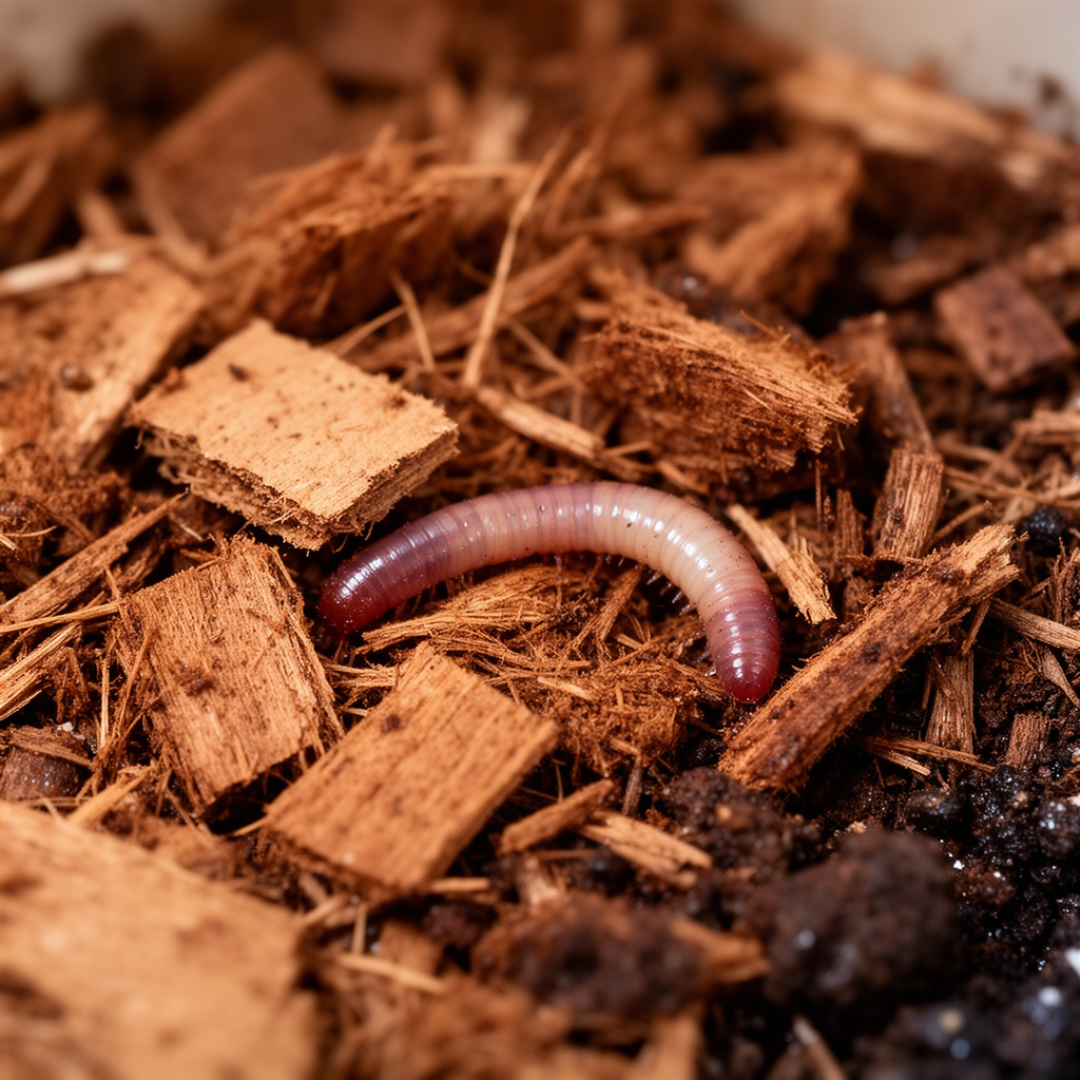
- Bedding -- coco coir and shredded cardboard work best
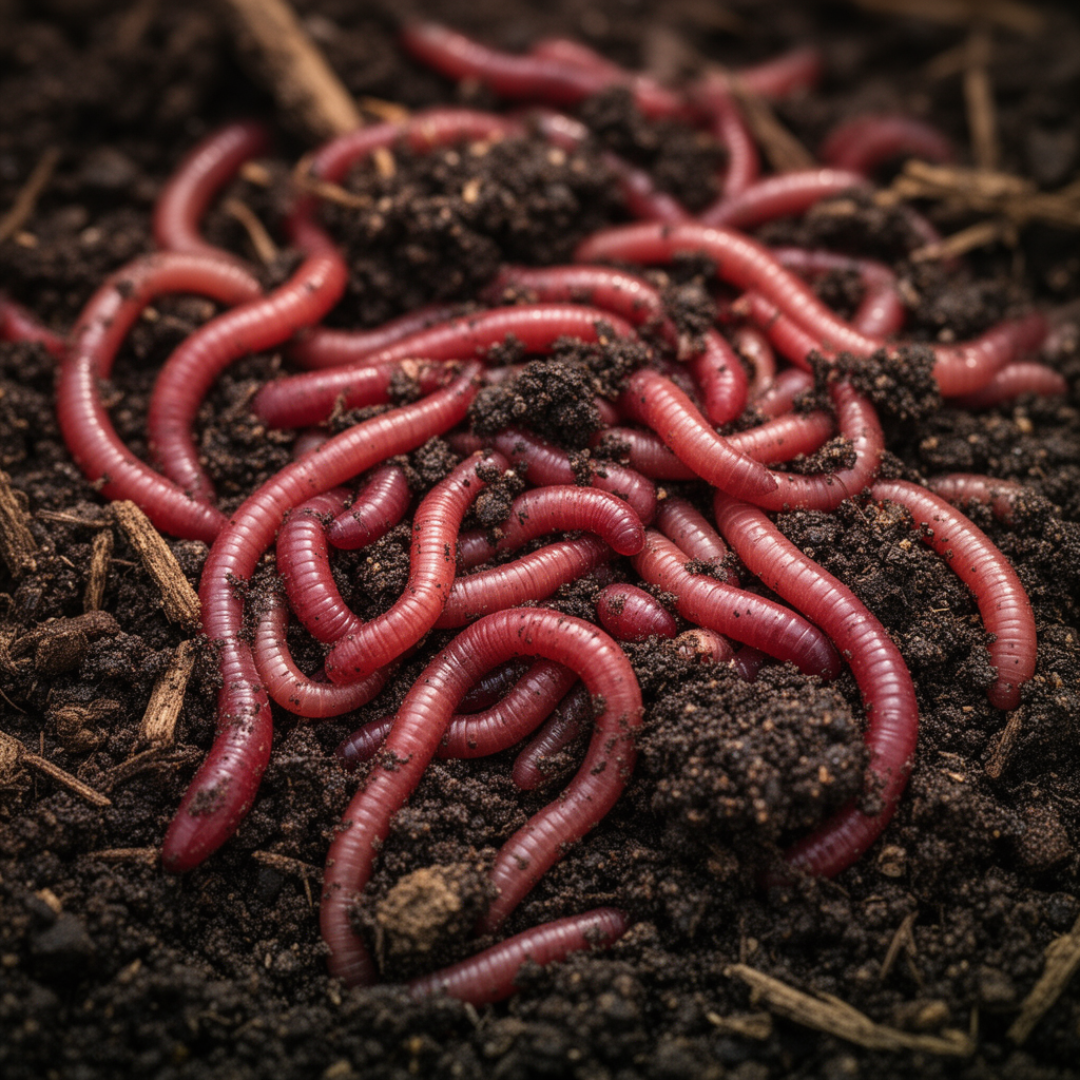
- Red wigglers or European nightcrawlers -- 1 lb per square foot of bin space
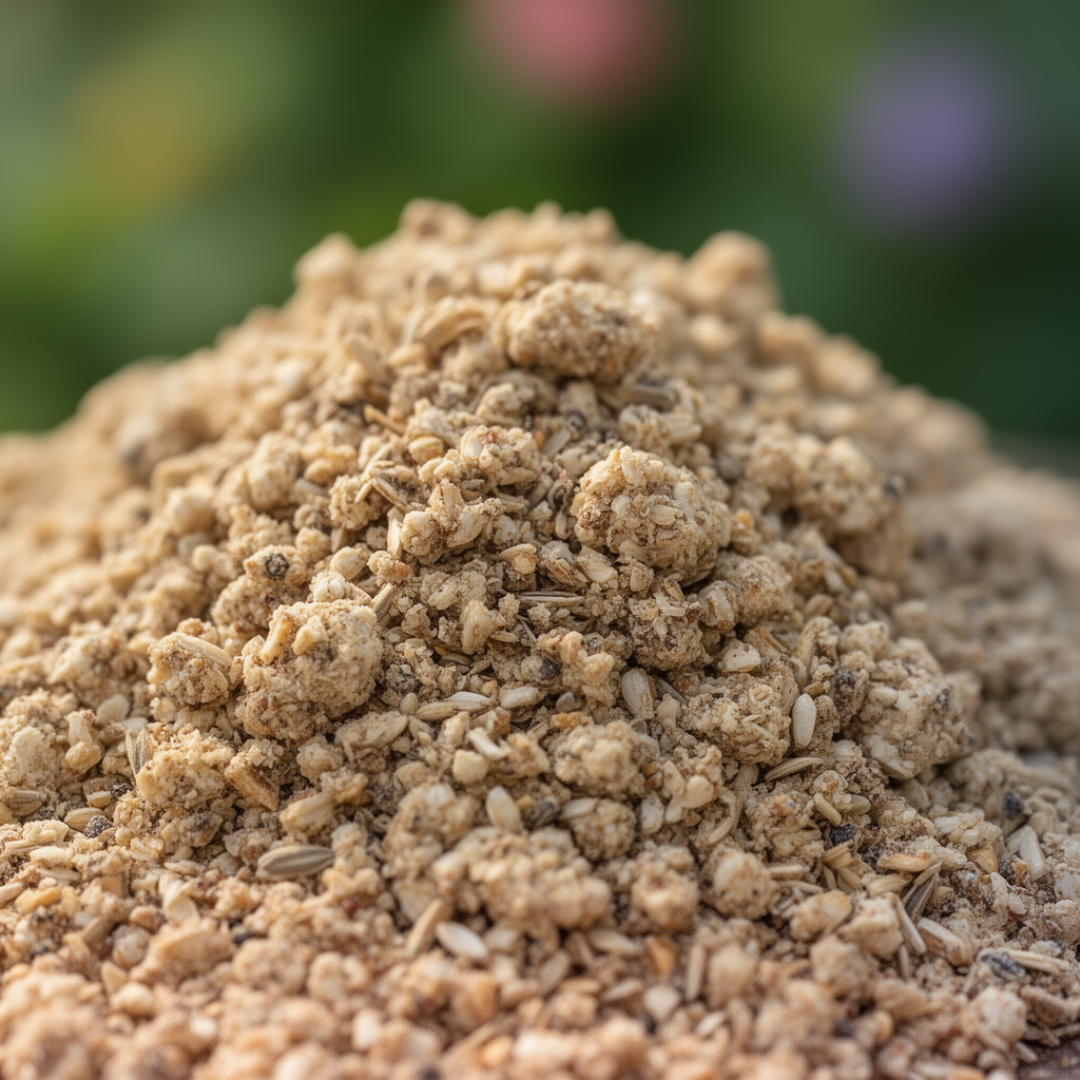
- Worm chow -- a dry food supplement that feeds your worms between scraps
- Oyster shell flour -- keeps the pH balanced in your bin
- Microbial food -- helps the good bacteria grow in your bedding
- A worm blanket -- holds in heat and moisture
- A thermometer -- so you can keep an eye on the temperature inside the bin
- Kitchen food scraps -- vegetable peels, fruit scraps, coffee grounds, and eggshells
Meme's Tip
You can grab the Essential Bundle from my shop. It has the coco coir, worm blanket, worm chow, oyster shell flour, microbial
food, and thermometer all in one place. It makes getting started a whole lot easier.
Which Worms Should You Use?
This is one of the first questions I hear from new composters. Not all worms are the same, and you cannot just dig worms up from your yard and put them in a bin. Those yard worms live deep in the soil and will not thrive in a bin environment.
For vermicomposting, you want surface-dwelling worms that love to eat organic matter. The two best choices are:
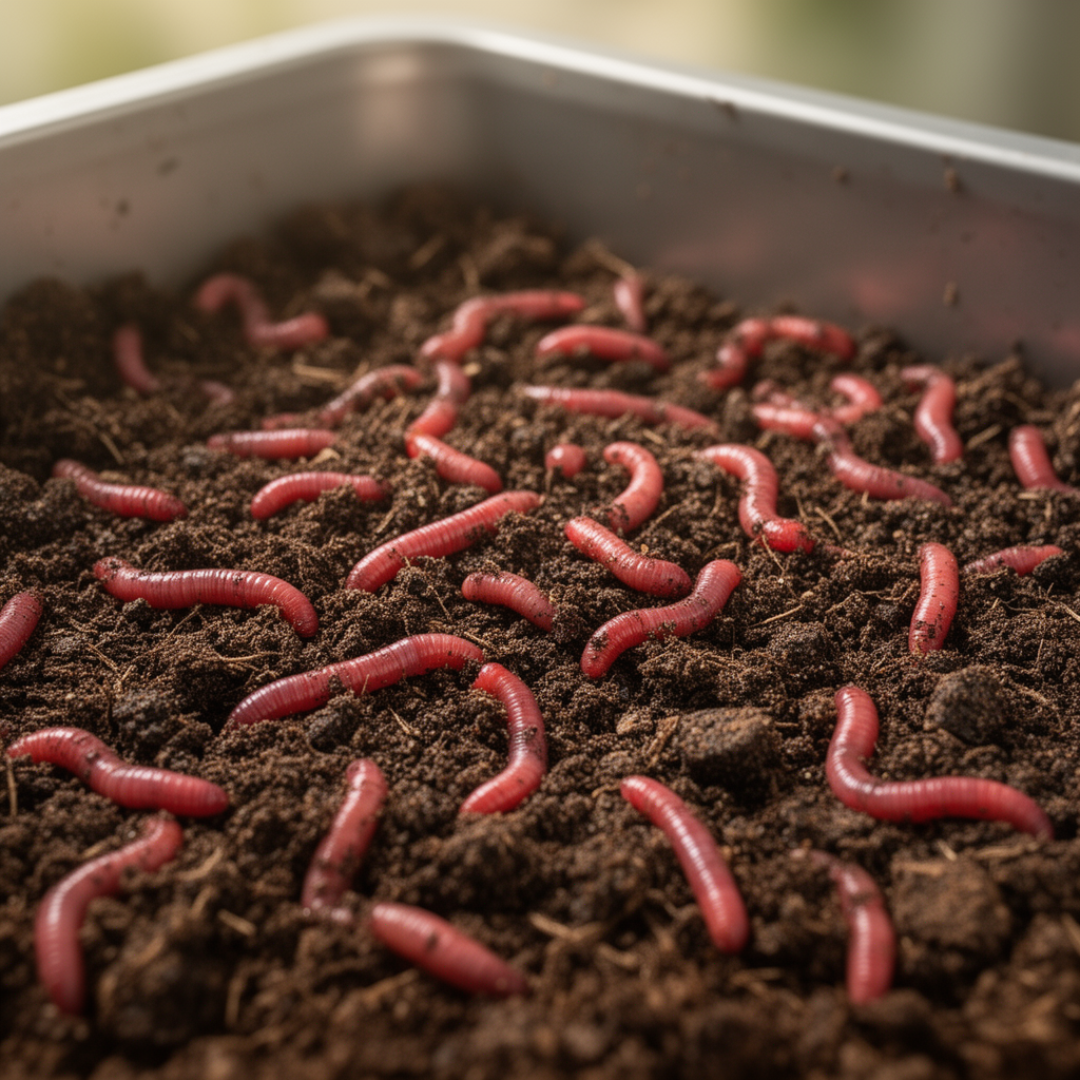
- Red Wigglers: These are the most popular composting worms. They are small, fast eaters, and they reproduce quickly. They are great for beginners.
- European Nightcrawlers (Eisenia hortensis): These are a little bigger and work well for both composting and fishing bait. They do great in a wider range of temperatures.
I raise and sell both right here in Georgia, and I ship them live across the whole country with a live arrival guarantee.
How to Start a Worm Bin: Step-by-Step
Choose Your Bin
Pick a bin that fits your space. Here are the most common options:
- Plastic bin (like a Rubbermaid): Cheap and easy to find. You will need to drill holes in the lid and sides for airflow, and holes in the bottom for drainage.
- Fabric grow bag: Great airflow naturally. This is one of my favorites for beginners.
- Hungry Bin or flow-through system: More expensive but makes harvesting worm castings super easy.
Whatever bin you pick, make sure it has enough surface area for the amount of worms you are starting with. A good rule is 1 lb of worms per square foot of surface space.
How to Start a Worm Bin: Step-by-Step
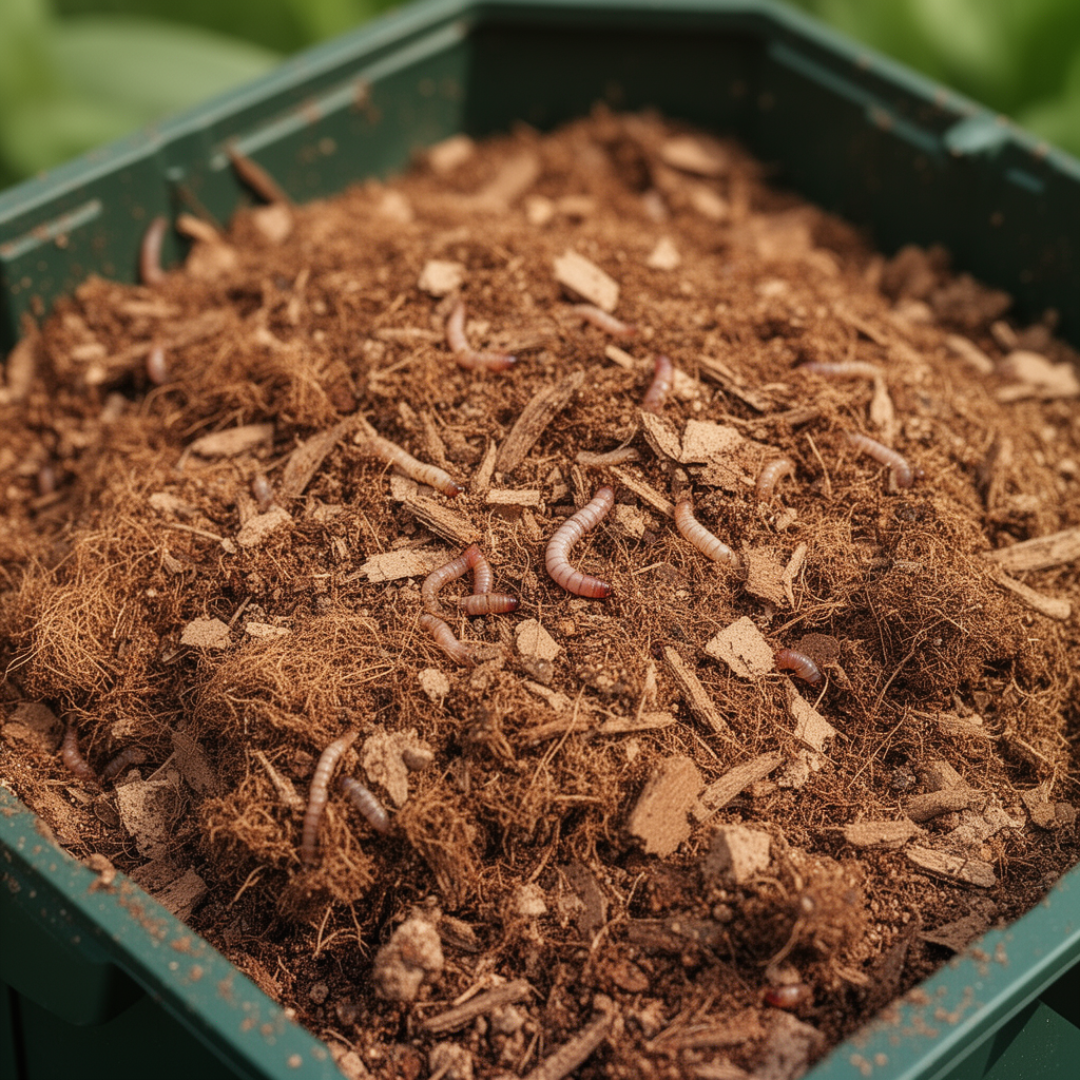
Prepare Your Bedding
Bedding is what the worms live in. It needs to be moist, carbon-rich, and full of air pockets. Think of it like their
bedroom and food all rolled into one.
Here is the mix I recommend:
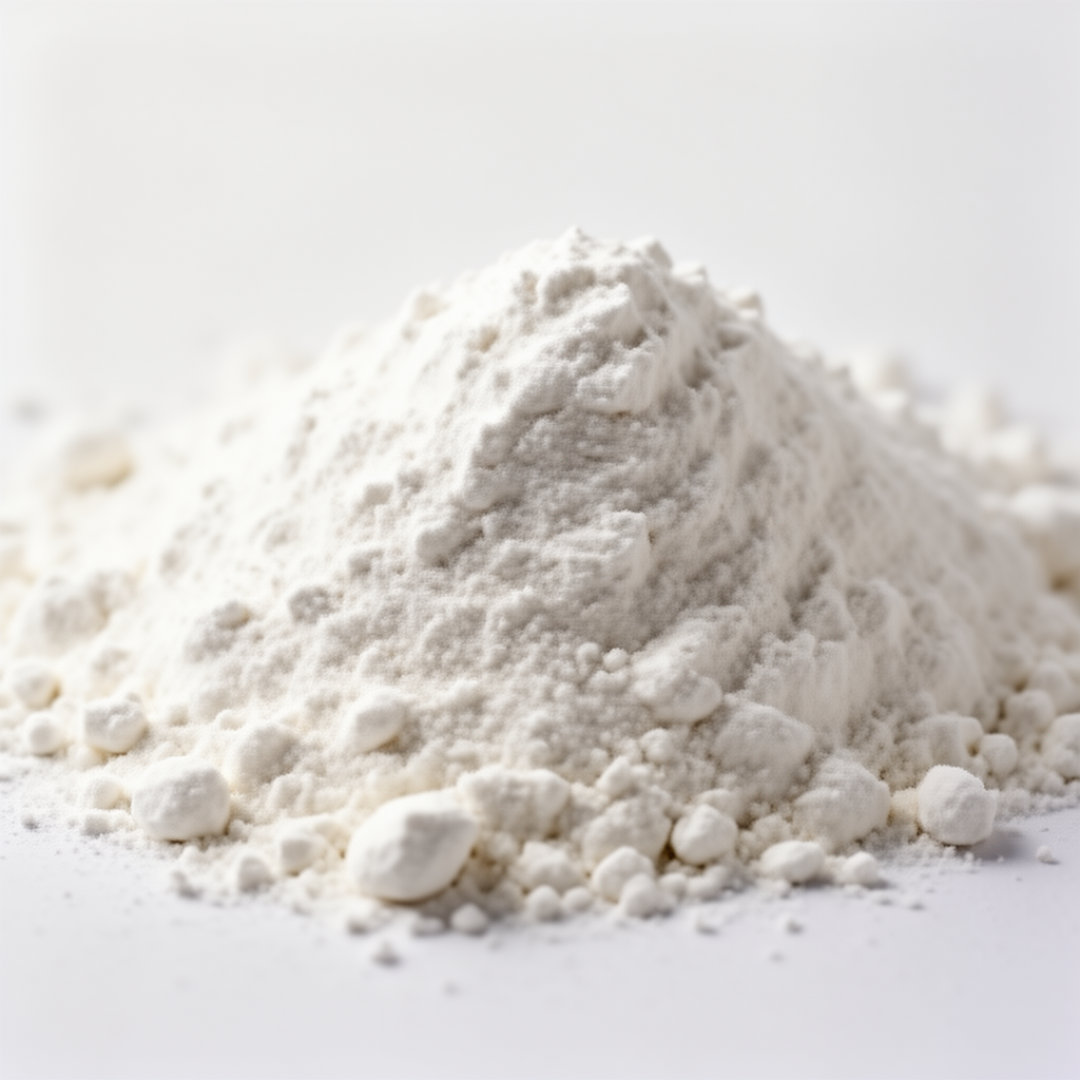
- One or two bricks of coco coir, soaked in water until it expands and feels like a damp sponge
- Shredded cardboard or brown paper -- tear it into strips and mix it in
- One gallon of my VermiFusion Blend to give the bedding a healthy microbial head start
Fill the bin about three-quarters of the way full. The bedding should feel moist when you squeeze it, like a wrung-out sponge. If water drips out, it is too wet. If it feels dry and crumbles apart,
add more water.
Important: Do not add the worms yet. The bedding needs time to settle and for good bacteria to start growing. This is what the worms will actually eat first.
How to Start a Worm Bin: Step-by-Step
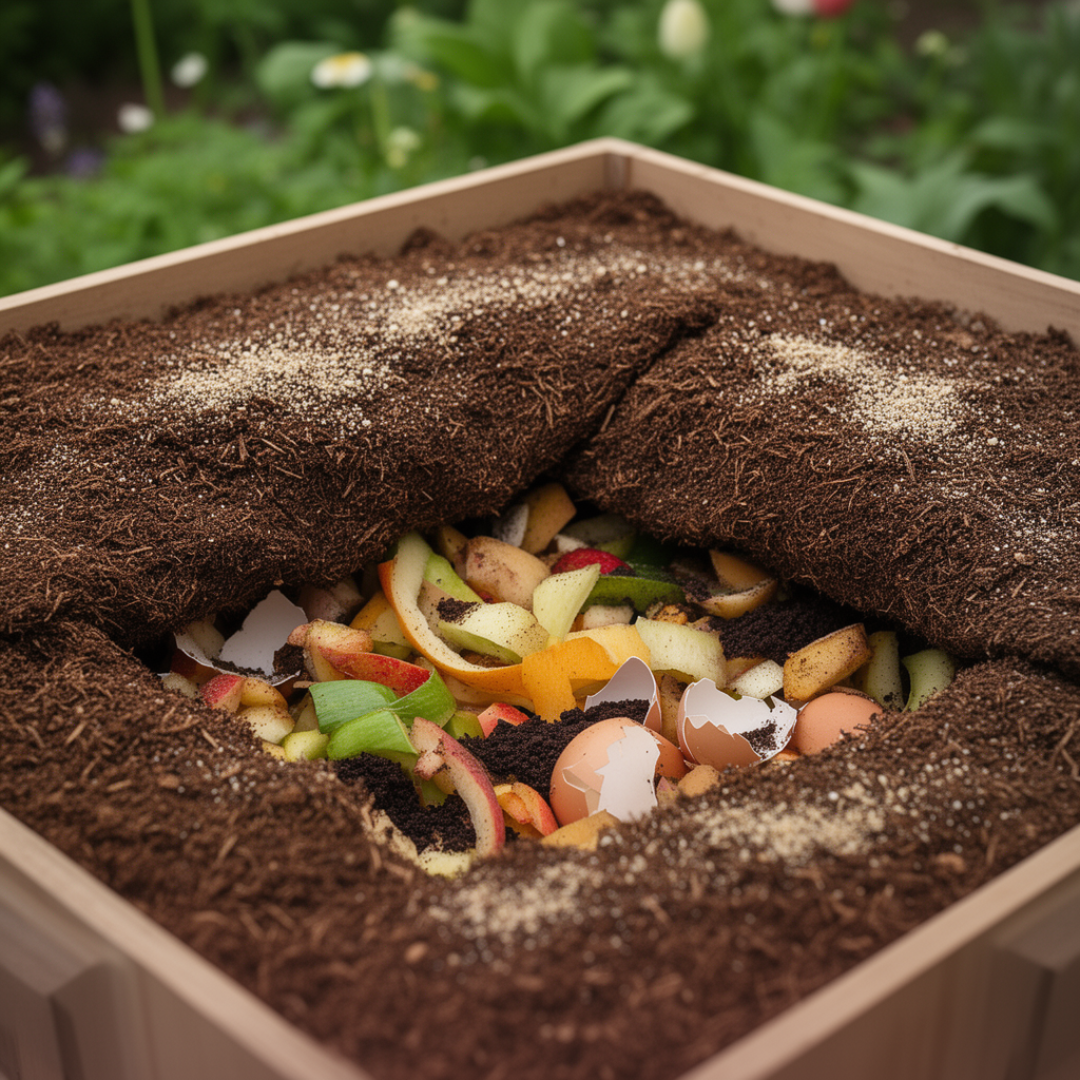
Add Food Scraps and Supplements
Now it is time to add your first round of
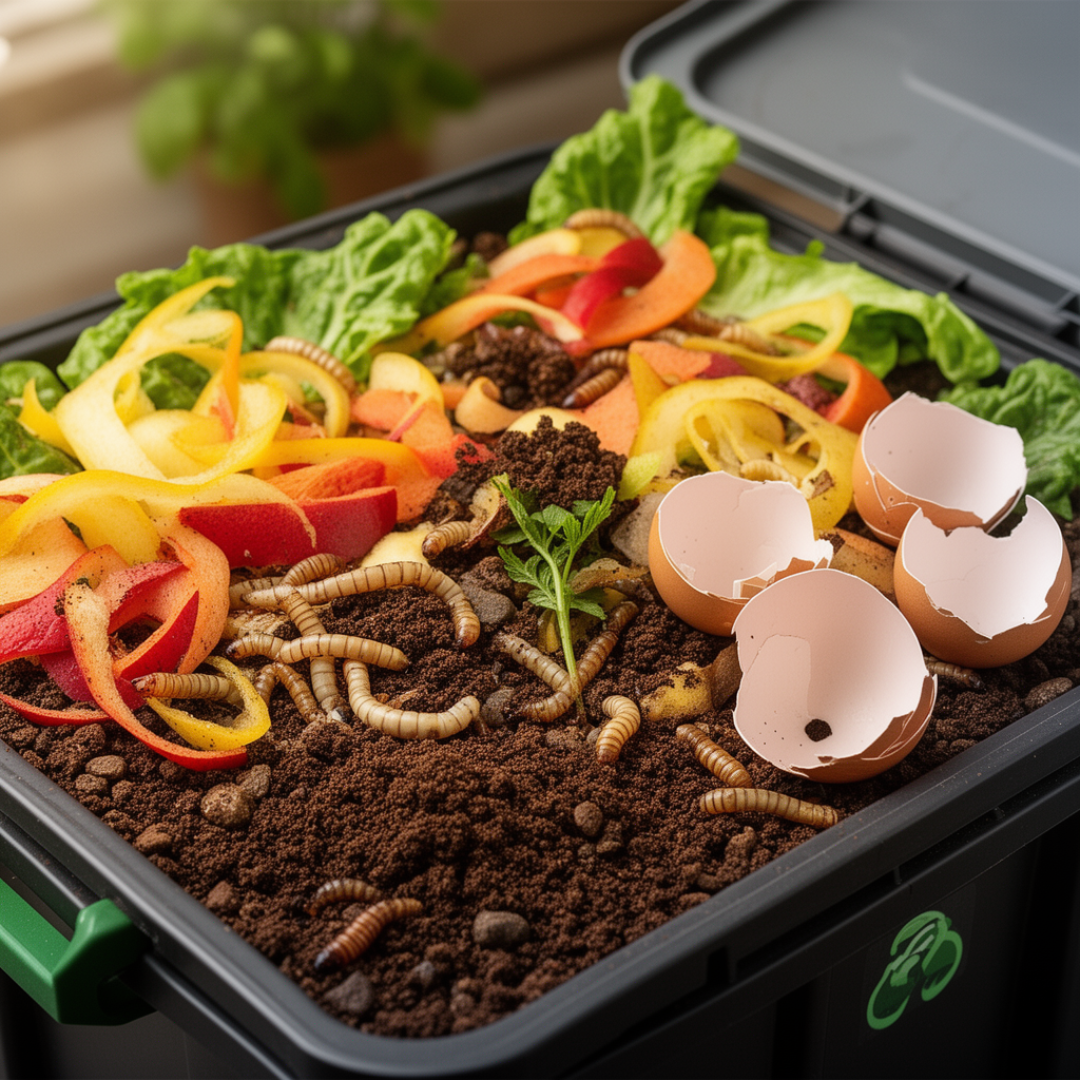
food. Pick one corner of the bin and make a small hole in the bedding. Place your kitchen scraps in that hole. Cover the scraps back up with a thin layer of bedding so they are buried about 3 to 4 inches deep. This keeps pests away.
Good worm foods to start with include vegetable and fruit scraps, coffee grounds and paper coffee filters, crushed eggshells.
Foods to avoid: meat, fish, and bones, dairy products like cheese and milk, oily or greasy foods & onions and citrus in large amounts -- they can make the bin too acidic.
Mix the supplements gently into the top layer of bedding.
How to Start a Worm Bin: Step-by-Step
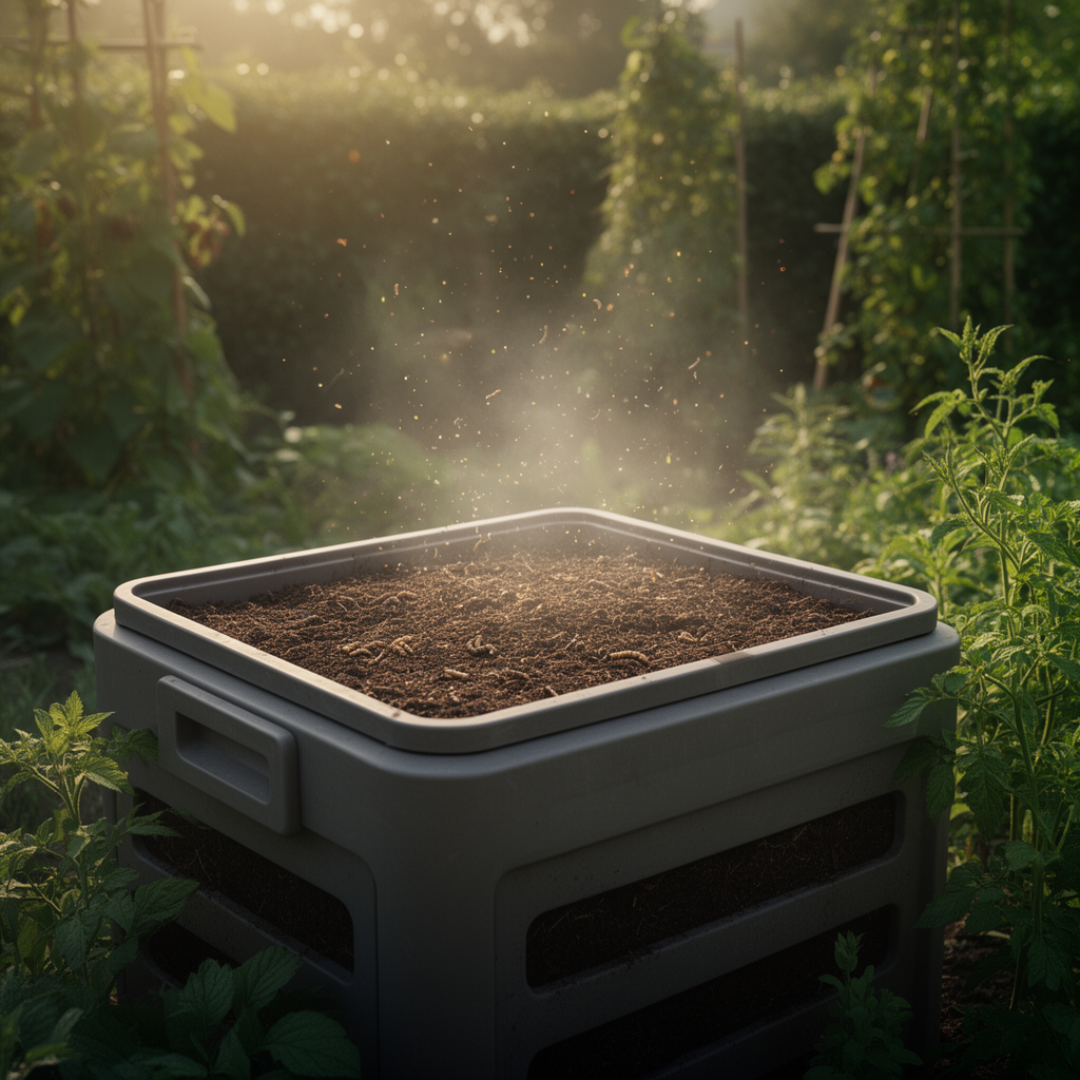
Let the Bin Rest for One Week
I know this part is hard. You are excited and you want to add the worms right now. But trust me, this waiting period is the most important step that beginners skip.
When you let the bedding and food scraps sit for a week, something amazing happens. Billions of tiny microorganisms, which are too small to see, start to grow and multiply. Those microbes are actually what worms eat first. They eat the microbes that are breaking down the food, not the raw food itself.
If you put worms into a bin that has no microbial activity yet, they will try to escape. I have gotten so many calls
from people who added worms right away and then woke up to find them crawling all over the floor. The waiting period prevents that.
Science note: Dr. Rhonda Sherman at North Carolina State University, one of the top experts in vermicomposting, explains that worms thrive when they are introduced to an established environment that already has active microbial decomposition happening.
How to Start a Worm Bin: Step-by-Step
Add Your Worms
After one week, it is move-in day for your worms. Spread 1 lb of worms per square foot across the surface of the bedding. Do not just dump them all in one pile.
Here is a trick I always use: leave a bright light on over the bin for the first night with the lid off. Worms hate light. They will dig down into the bedding to get away from it instead of trying to climb out. This one step cuts down escapes dramatically.
Once the worms are settled, lay a worm blanket over the top. This holds in moisture and warmth. Then stick the
thermometer into the bedding. The ideal temperature range inside a worm bin is 55 degrees F to 77 degrees F. Below 40 degrees F, the worms will slow down. Above 85 degrees F, they can die.
How to Start a Worm Bin: Step-by-Step
Maintain Your Bin
Once the worms are in, your job is to keep conditions right and keep them fed. Here is my maintenance routine:
Every 2 to 4 days: Check the food corner. If the worms have eaten what you added, put 1 cup of new scraps in a
different corner of the bin. Rotate where you add food each time so the worms move around and process the whole bin evenly. Cover the scraps with bedding.
Every week: Add 1 tablespoon of microbial food to the top of the bin and mix it into the top layer.
Once a month: Add 1 tablespoon of oyster shell flour to the top of the bin. This is also a good time to fluff the
bedding, which just means turning it gently. Fluffing releases any trapped gas and improves airflow.
If your bin starts to smell bad, that is a
sign you are overfeeding. Let the worms catch up before you add more food.
Video Set Up Guide
Get your supplies, follow along, and watch Samantha from Meme's set up a worm bin in just 10 minutes!
Check outCommon Problems and How to Fix Them
Even experienced composters run into problems sometimes. Here are the ones I hear about most often and what to do about them:
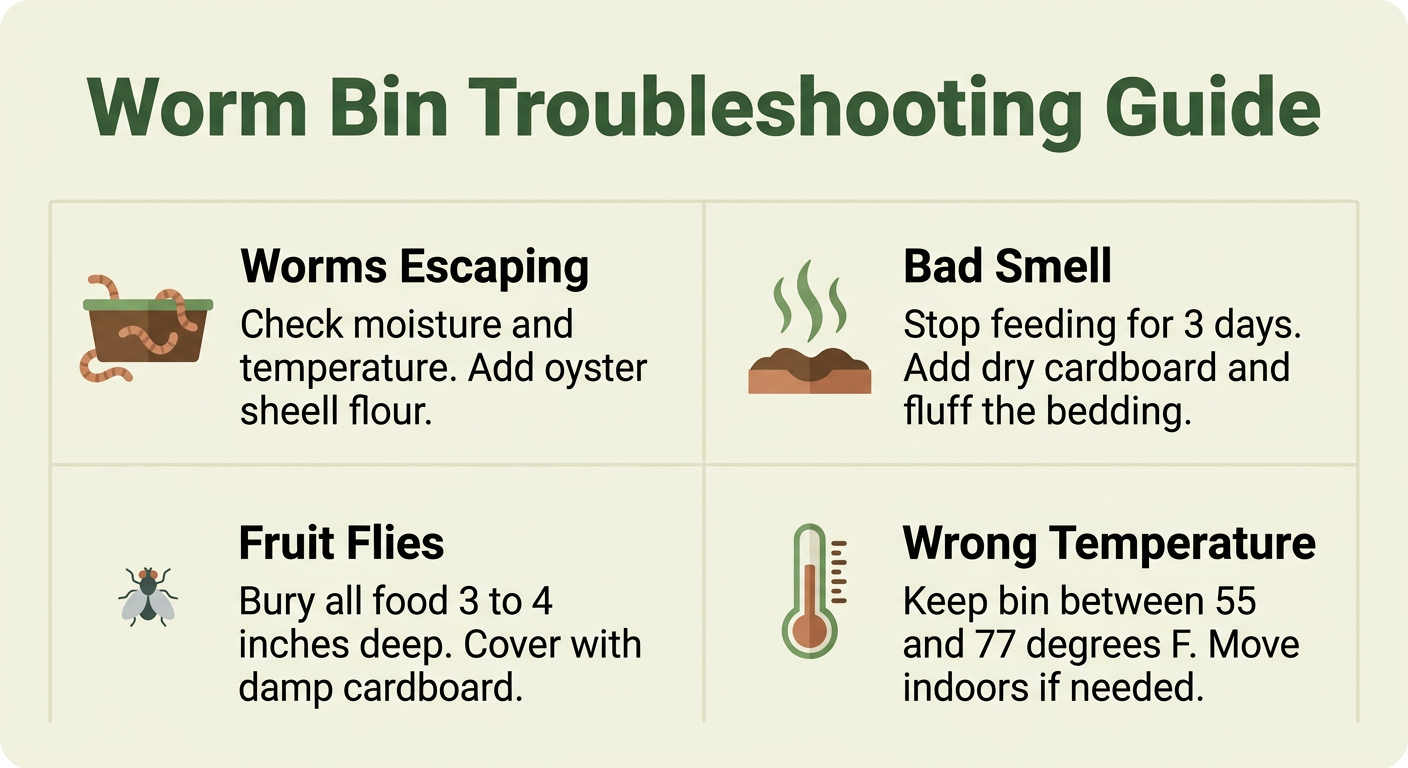
- Worms are trying to escape: This usually means the bin is too wet, too hot, or the pH is off. Check moisture and temperature first. Add dry bedding if it is too wet. Add oyster shell flour if it smells acidic.
- The bin smells bad: A healthy worm bin should smell like fresh earth, not rot. A bad smell almost always means you are overfeeding or the bin is too wet and not getting enough oxygen. Stop adding food for a few days, add dry shredded cardboard, and fluff the bedding.
- Fruit flies are showing up: Make sure all food scraps are buried under 3 to 4 inches of bedding. You can also lay a sheet of damp cardboard directly on top of the food. Fruit flies cannot get through it.
- The worms look small and not very active: This can mean the bin is too cold, too dry, or there is not enough food. Check the temperature. Make sure the bedding stays moist. Add worm chow to give them a boost.
- Bedding looks like wet mud: The bin has too much moisture. Add dry shredded cardboard and stop misting for a few days. Good bedding should always feel like that damp sponge, not mud.
How to Start a Compost Bin Without Worms?
A lot of people ask me this because they like the idea of composting but are not ready to keep worms just yet. That is completely fine. You can still make great compost without worms. It just works a little differently.
This method is called hot composting or cold composting depending on how you manage it. Here is how to do it:
- Get a compost bin or make a pile outside. It can be a simple wire bin, a wooden box, or just a pile in a corner of your yard.
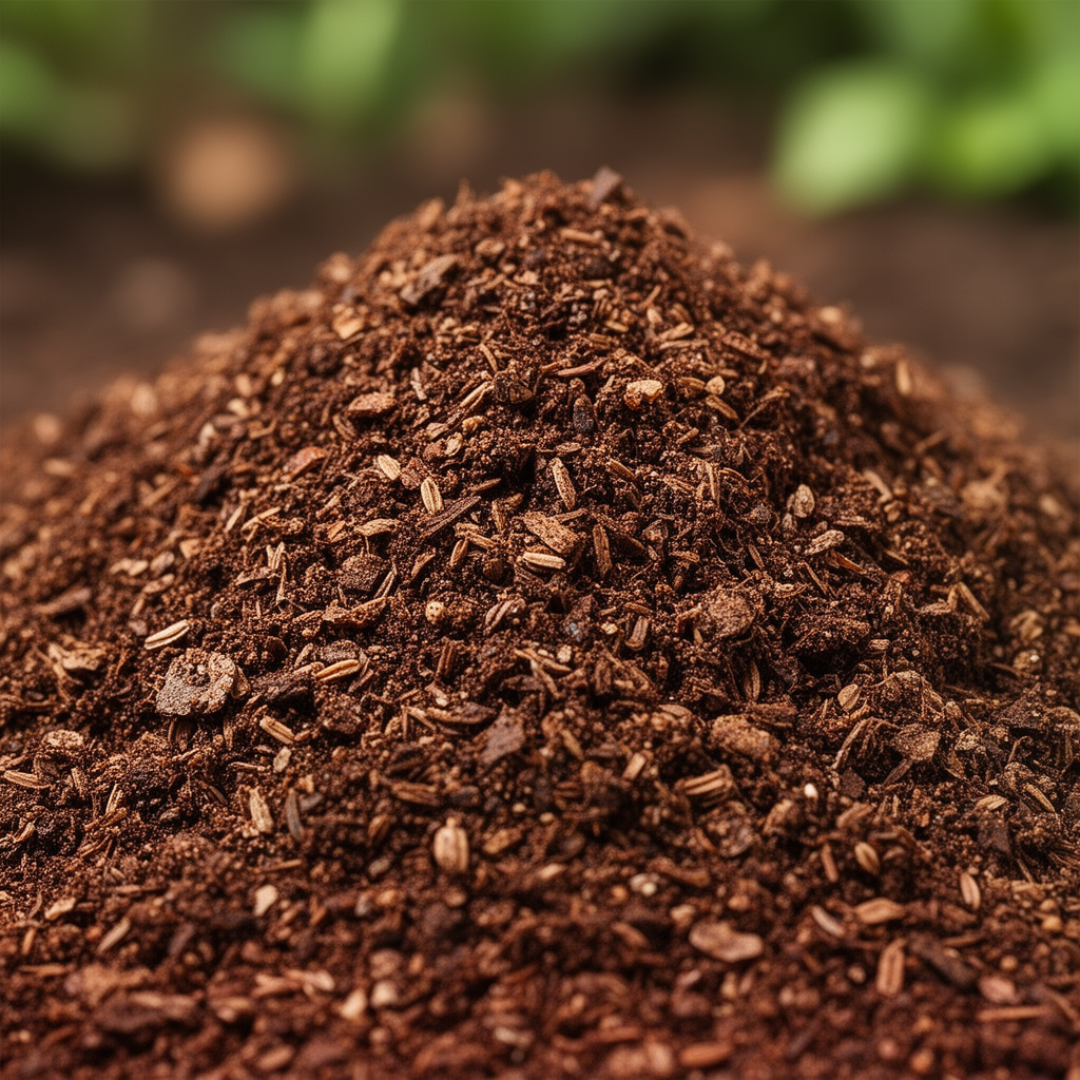
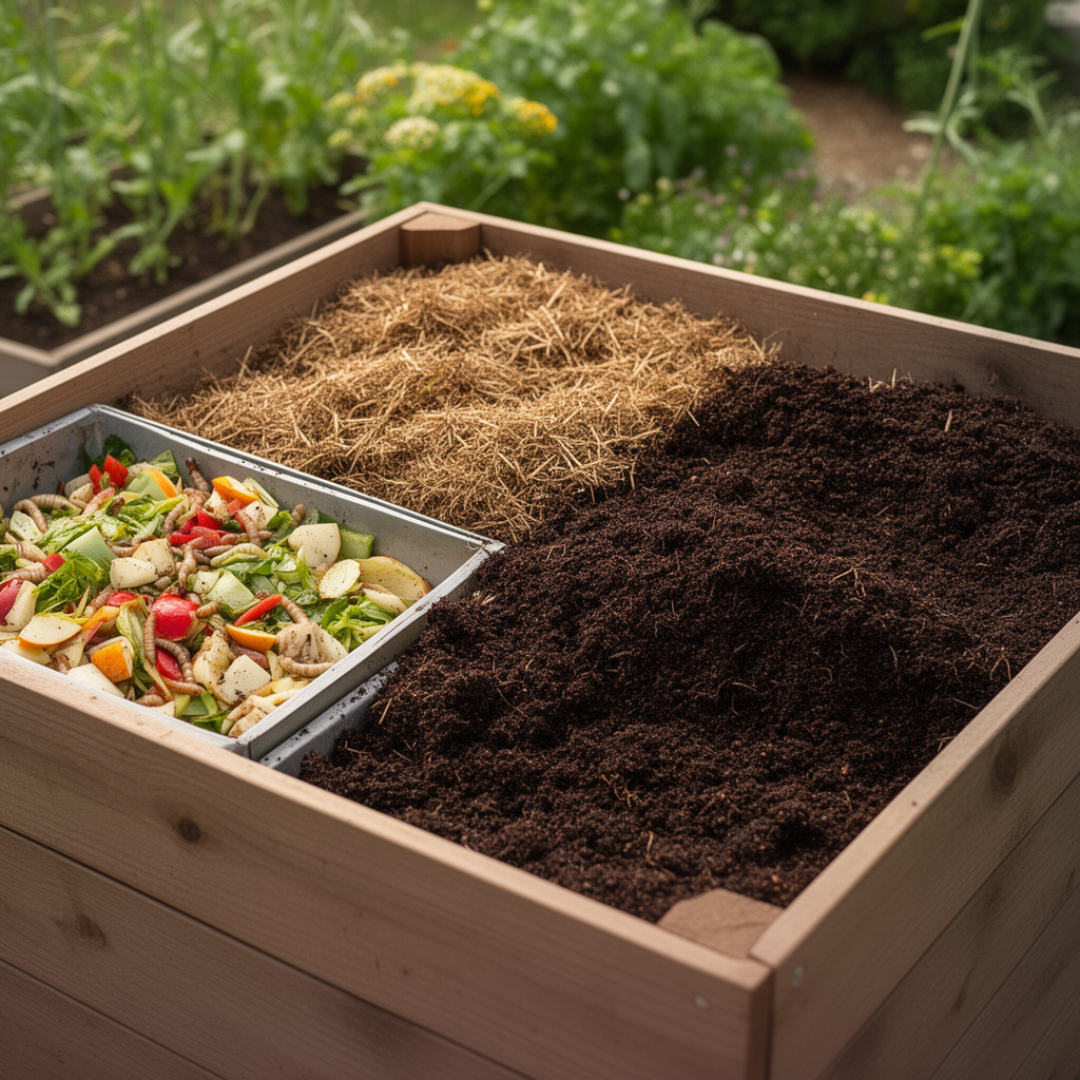
- Layer your materials. You need a mix of green materials (nitrogen-rich) like food scraps, coffee grounds, and fresh grass clippings, and brown materials (carbon-rich) like dry leaves, straw, and shredded cardboard.
- Aim for roughly 3 parts brown to 1 part green. This is called the carbon-to-nitrogen ratio, and getting it close to right makes a big difference.
- Keep the pile moist but not soaking wet. It should feel like a damp sponge, just like a worm bin.
- Turn the pile every one to two weeks with a pitchfork or shovel. This adds oxygen and speeds up the breakdown.
- Wait. Depending on conditions, you can have finished compost in 2 to 6 months.
The big difference between this method and vermicomposting is speed and what you end up with. Worm castings are more concentrated and biologically active than regular compost. But regular compost is still very good for your garden and is a great starting point.
If you want to eventually add worms to your outdoor pile, you can. Once the pile cools down from its initial hot phase, red wigglers will naturally move in if conditions are right, or you can add them yourself.
Why Vermicomposting Is Worth It
I get asked why people bother with all this when they could just throw food in the trash. Here is what I always say.
Food waste that goes to the landfill does not just disappear. It gets buried under other trash with no oxygen, and it releases methane as it breaks down. Methane is a greenhouse gas that is far more powerful than carbon dioxide in the short term. According to the Environmental Protection Agency, food and yard waste makes up more than 28 percent of what we throw away in the United States.
When you vermicompost at home, you are keeping that waste out of the landfill. And what you get back is something your
garden will love. Worm castings improve soil structure, help soil hold moisture, and feed plants with nutrients they can use right away. Studies from Ohio State University Extension show that plants grown in soil amended with worm castings show stronger growth and better resistance to disease compared to plants grown in plain soil.
On top of all that, it feels good. I am not going to pretend otherwise. There is something really satisfying about feeding your worms every few days and watching your bin come to life.
FAQs
How long does it take to set up a worm bin?
The setup itself takes about 30 minutes. But you need to wait one week before adding worms so the bin can develop the microbial activity the worms need. So from start to worms, plan on about 7 to 10 days.
How many worms do I need to start?
Start with 1 lb of worms per square foot of surface area in your bin. A 2 square foot bin needs about 2 lbs of worms. You can start with less and let the population grow, but starting with the right amount helps things move faster.
Can I keep a worm bin indoors?
Yes, absolutely. A healthy worm bin does not smell bad. I keep bins indoors all the time. Just put it somewhere with a stable temperature between 55 and 77 degrees F, like a kitchen cabinet, under a sink, or in a basement. Keep it out of direct sunlight.
What can I feed my worms?
Worms love fruit and vegetable scraps, coffee grounds, paper coffee filters, tea bags without staples, and crushed eggshells. They also love small amounts of aged manure. Avoid meat, dairy, oily foods, and large amounts of citrus or onions.
How do I know if my bin is too wet or too dry?
Squeeze a handful of bedding. If water drips out, it is too wet. Add dry shredded cardboard and leave the lid cracked for a day. If the bedding crumbles and does not hold together at all, it is too dry. Mist it with water and mix it in.
Why are my worms trying to escape?
The most common reasons are that the bin istoo wet, too hot, too acidic, or the worms were added before the bin was ready.
Check the temperature and moisture first. Add oyster shell flour to correct acidity. Make sure all food is buried and covered.
When will I have worm castings ready to use?
In a healthy bin, you can start harvesting worm castings in about 3 to 6 months. You will know they are ready when the material in the bottom of the bin looks dark, crumbly, and earthy with no recognizable food pieces left.
Can I start a compost bin without worms?
Yes. Regular hot or cold composting does not require worms. You layer green and brown materials, keep the pile moist, and
turn it regularly. It takes longer than vermicomposting but still makes excellent compost for your garden. See the section above for step-by-step instructions.
What is the difference between vermicomposting and regular composting?
Regular composting is mostly driven by heat and bacteria breaking down organic matter. Vermicomposting uses worms to speed up the process and produces worm castings, which are more nutrient-dense and biologically active than regular compost. Both are great. I just happen to think worms are more fun.
Do worm bins attract pests like rats or flies?
A properly managed worm bin does not attract rats or flies. The key is to always bury food scraps under several inches of bedding and never add meat or dairy. If you see fruit flies, it means food is exposed. Cover it up.
Know More
Worm Bin pH: A Simple Guide to Balance, Fix, and Control It
When I first started composting, I did not think much about worm bin pH. I focused on food, worms, and bedding. Then one day, my worms slowed down. Some tried to escape. The bin smelled off. That i...
Bedding for Worms: A Simple Guide to Building the Perfect Worm Bed
In this guide, I will show you exactly how I set up worm bin bedding, how to choose the right materials, and how to build a strong system step by step. I will also explain how to make a worm bed, i...
Types of Soil Worms: A Simple Guide to Worms in Garden and Potting Soil
I get asked about soil worms all the time. People dig into their garden or open a pot and see worms they do not recognize. Some look white. Some are small. Some are big and pink. And the first thou...
Best Worm Composting Bin: A Simple Guide to Choosing the Right One
I have tested many systems over the years, and choosing the best worm composting bin always comes down to clarity. People get stuck because there are too many options and not enough straight answer...
Indoor Worm Composting: A Simple Guide for Composting with Worms Indoors
I have helped many people start indoor worm composting, and most of them begin with the same question. Can this really work inside my home? The answer is yes. When it is done right, composting wit...
Worm Anatomy Explained: Complete Guide to All Essential Parts of a Worm
Quick Answer Understanding worm anatomy helps you become a better worm farmer. Composting worms like red wigglers and European nightcrawlers have fascinating body parts including 5 hearts, no eyes ...
Why Choose Meme's Worms?