


Red wiggler cocoons hatch best when kept warm, moist, undisturbed, and microbe-rich. Under the right conditions, most cocoons hatch in 18–30 days.
If cocoons aren’t hatching, it’s almost always due to temperature, moisture, or disturbance — not because the cocoons are bad.
Hatching red wiggler cocoons is one of the most exciting parts of worm farming. It’s also one of the most misunderstood.
I’ve hatched thousands of cocoons over the years — and I’ve also ruined plenty by doing too much. If you want consistent hatch rates, the key is creating the right environment, then letting nature do the work.
These are the five things that actually matter.
Tip #1: Keep Temperatures Warm (But Not Hot)
Temperature controls how fast cocoons develop.
-
Ideal range: 70–85°F
-
Below 65°F: hatching slows or stops
-
Above 90°F: cocoons can fail
I see the best hatch rates when bins stay steady around 75–80°F. Sudden temperature swings delay hatching.
Must Read : How to hatch Red Wiggler Cocoons
Tip #2: Maintain Moisture Like a Damp Sponge
Cocoons need moisture — but not standing water.
-
Bedding should feel damp, not dripping
-
Too dry: cocoons harden and fail
-
Too wet: oxygen drops and microbes suffer
Cocoons breathe through their casing. Airflow matters.
Tip #3: Do Not Disturb the Cocoons
This is where most people mess up.
Red wiggler cocoons hatch best when:
-
Left in place
-
Covered lightly with bedding
-
Not handled, sifted, or moved
When I want cocoons to hatch, I stop harvesting and stop digging. Disturbance slows hatching more than anything else.
Tip #4: Feed the Microbes, Not the Cocoons
Baby worms don’t eat scraps. They eat microbes.
To support hatching:
-
Use aged bedding
-
Avoid heavy feeding
-
Keep food broken down and mild
A microbe-rich environment ensures food is available the moment babies hatch.
Tip #5: Be Patient — Cocoons Hatch on Their Own Schedule
Most red wiggler cocoons hatch in 18–30 days, but not all at once.
Hatching speed depends on:
-
Temperature
-
Moisture
-
Stability
-
Microbial activity
If conditions are right, hatching will happen. Constant checking usually slows it down.

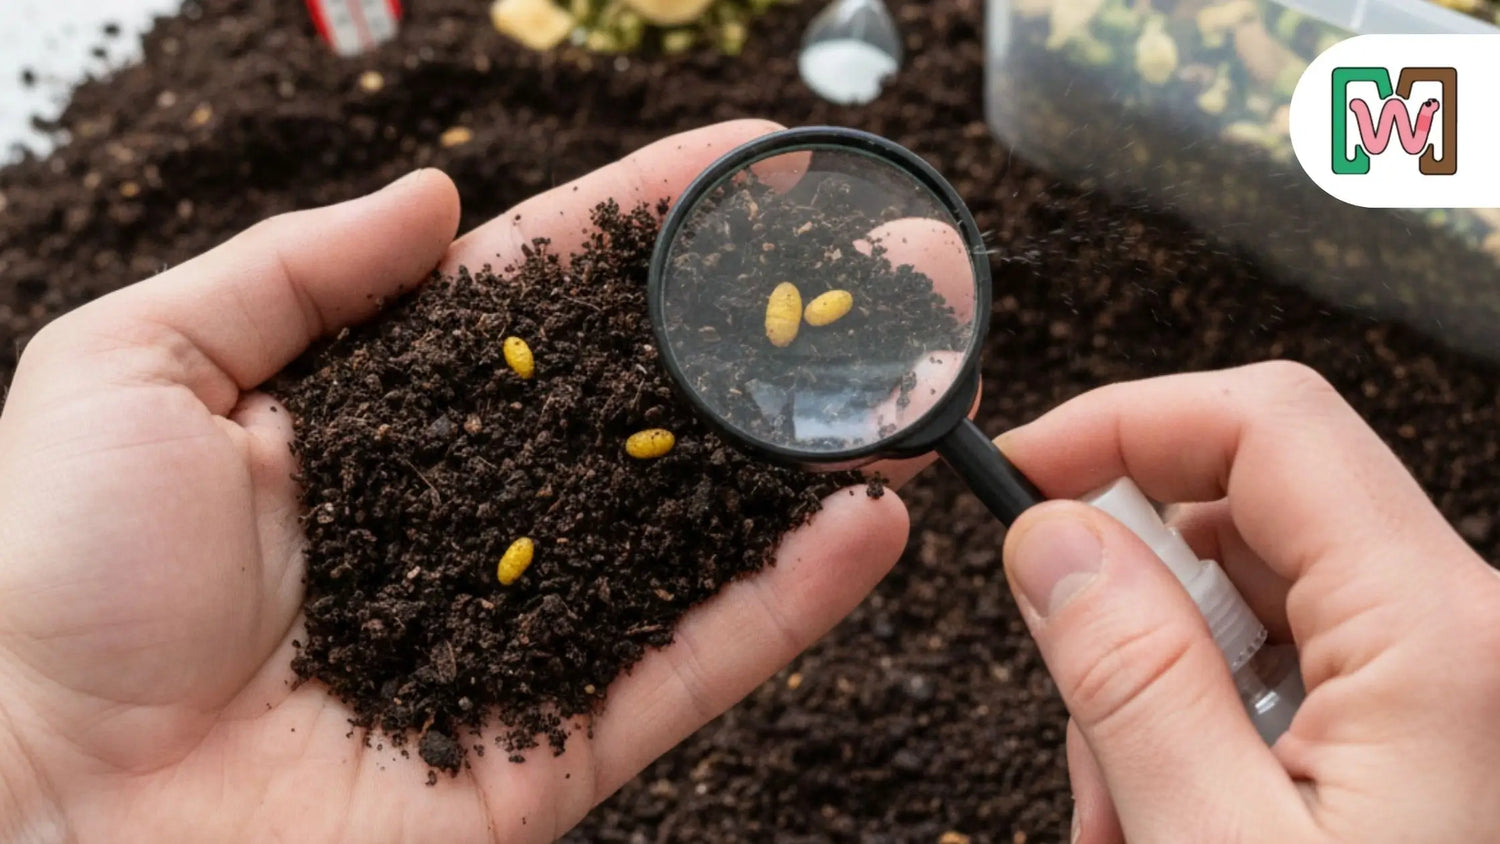
What Do Red Wiggler Cocoons Look Like?
Red wiggler cocoons are small, oval, and lemon-shaped. They start out light yellow, then turn golden brown as they mature.
Most cocoons are:
-
About the size of a grain of rice
-
Slightly shiny
-
Found mixed into bedding, not on the surface
Red wigglers do not lay eggs. What many people call “eggs” are actually cocoons, and each cocoon holds baby worms inside.
Must Read : How Do Worms Reproduce? A Complete Guide to Worm Mating, Cocoons and Growth
Why Red Wiggler Cocoons Don’t Hatch?
If you see cocoons but no babies, check these first:
-
Bin is too cold
-
Bedding is too dry or too wet
-
Cocoons are disturbed too often
-
Not enough microbial activity
-
Conditions change too frequently
Fix the environment — not the cocoons.
Final Takeaway
Healthy cocoons don’t need help — they need stable conditions.
Warmth, moisture, microbes, and patience will hatch more worms than digging ever will.


2 comments
Tom
LeRoy, That would dépend on your location. In my San Jose yard it is too hot and DRY for earthworms to thrive. You can test by digging a hole in the local field or forest to see how many worms you find.
In the ground added worms are food for lots of predators!
It would be better to start a worm bin. In a bin the worms are the alpha predator. They eat and multiply and they poop. Add that worm poop (vermicompost) to your yard. I spread worm poop onto my tired old front yard and it boomed. I overheard admiring comments as the neighbors walked by. Try it?
LeRoy Rendon
We bought a house less than a year ago. The builder brought in sand and put down centipede grass for the lawn. Would it be beneficial to purchase earthworms and put them throughout the lawn as a means to enrich the soil?
Leave a comment
All comments are moderated before being published.
This site is protected by hCaptcha and the hCaptcha Privacy Policy and Terms of Service apply.