



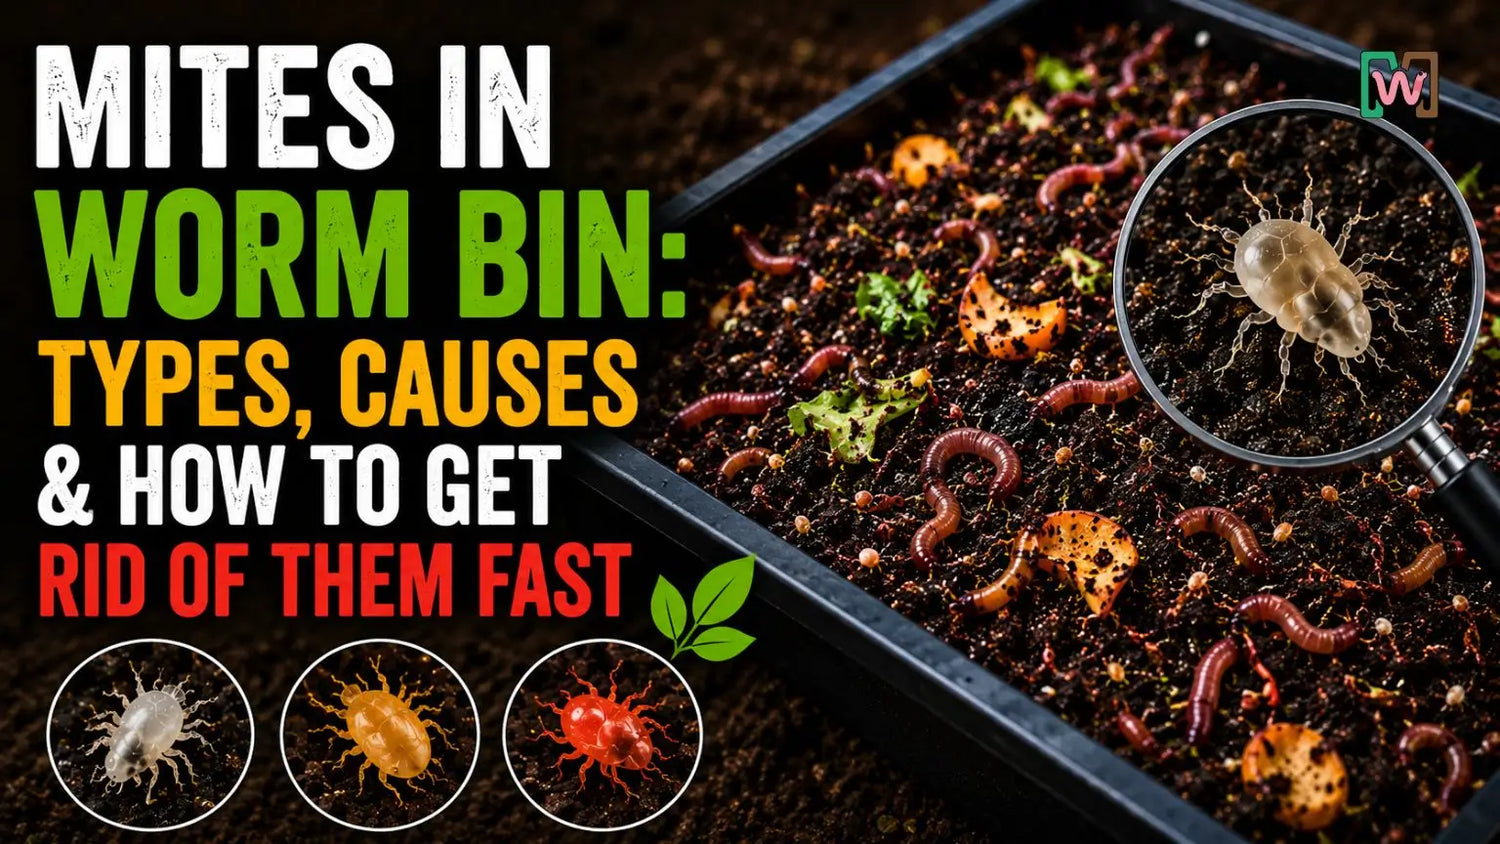
I have been running a commercial worm farm for years, and I can tell you that finding mites in worm bin is one of the most common concerns I hear from worm farmers. Whether you are just starting out or you have been composting for a while, it can feel alarming when you lift the lid and see tiny crawling creatures that are not your worms. I get it. I have been there myself.
But here is the truth: not every mite you find is going to destroy your bin. Some are harmless. Some are actually helpful. And a few specific types do need your attention before they get out of hand. In this guide, I am going to walk you through everything you need to know in plain, simple language. No fancy science words. Just real talk from someone who works with worms every single day.
What Are Mites and Why Are They in Your Worm Bin?
Mites are tiny eight-legged creatures that belong to the same family as spiders and ticks. According to the National Library of Medicine, there are more than 55,000 known species of mites in the world. That is a lot of mites. The good news is that most of them are harmless to your worm bin. The bad news is that a few types can absolutely cause problems if you let them multiply unchecked.
So why do you find mites in worm bin in the first place? It comes down to three things that your bin offers them: food, moisture, and shelter. Mites love organic matter, damp conditions, and dark enclosed spaces. Your worm bin checks all three boxes. That is why they show up.
Understanding which type of mite you are dealing with will help you decide exactly what to do next. Let me break them down for you.
Must Read : 15 Proven Ways to Keep Red Wigglers Cool & Productive in Summer (2026 Guide)
Types of Mites You Might Find in Your Worm Bin
Red Mites in Worm Bin
Red mites in worm bin are the ones you really need to watch out for. These little guys are predators. They attach themselves to worms and actually suck fluid from worm egg capsules. If you have a heavy red mite population, your worm reproduction will slow down fast. I always tell people: if you see red or orange colored mites moving around quickly in your bin, act right away.
White Mites in Worm Bin
White mites in worm bin are extremely common and are usually not a major threat. These are often called oribatid mites or grain mites. They eat decaying organic matter, which means they are competing with your worms for food more than they are hurting the worms directly. A small population is fine. A large population is a sign that your bin is too wet or acidic.
Brown Mites in Worm Bin
Brown mites in worm bin are also typically soil mites or decomposer mites. Like white mites, they feed on decaying food rather than on your worms. They thrive in bins that have too much moisture or not enough airflow. They are not dangerous but a large number of them tells you something is off balance in your bin environment.
Fast Moving Mites in Worm Bin
Fast moving mites in worm bin are often predatory species. Slow-moving mites tend to be detritivores eating dead matter. If you spot tiny creatures zipping around quickly, those are more likely to be the problematic kind. Speed is a sign of predatory behavior, and that is when I personally get more alert.
Soil Mites in Worm Bin
Soil mites in worm bin are naturally occurring and are generally part of a healthy decomposition ecosystem. Researchers at the University of Georgia Extension note that soil mites play an important role in breaking down organic material in compost systems. In small numbers, they are a good sign. The problem only starts when conditions in your bin encourage them to explode in population.
Spider Mites in Worm Bin
Spider mites in worm bin are less common than soil mites or grain mites but they do show up sometimes, especially if your bedding material was sourced from outdoors or a garden. Spider mites prefer plant material and usually do not directly harm worms, but they can web up your bedding and make conditions uncomfortable for your worms.
How Mites Affect Your Worm Bin and Composting Process
I want to be honest with you here. A few mites in your bin are not going to end the world. Worm bins are living ecosystems and a little biodiversity is normal. But when mite populations get out of control, here is what starts happening:
- Egg destruction: Red mites feed on worm egg capsules, reducing the reproductive rate of your worms.
- Food competition: White and brown mites compete for the same food your worms need, which means your worms get less nutrition.
- Predation: Some predatory mite species will directly feed on juvenile worms, shrinking your overall population.
- Worm stress: High mite populations can cause stress to worms, making them try to escape the bin.
-
Bin imbalance: A mite explosion is usually a symptom of a bin that is too wet, too acidic, or overloaded with food.
The bottom line is this: mites in small numbers coexist fine with your worms. Mites in large numbers are a sign something needs to change.
How to Identify Mites in Your Worm Bin
Before you panic, take a close look at what you are seeing. Here is what to watch for:
- Size: Mites are tiny, usually less than 1 mm. You may need to look closely or use a magnifying glass.
- Color: White or cream-colored mites are usually grain or soil mites. Red or orange mites are more likely predatory.
- Movement: Slow movers tend to be harmless decomposers. Fast movers are often predatory types.
- Location: Mites clustered around a piece of wet fruit or mushy food are usually grain mites attracted to that food source.
- Clusters: Mites tend to gather in groups rather than spreading out evenly like worms do.
If you are seeing tiny red mites in worm bins moving rapidly and clinging to your worms themselves, that is when you know it is time to take action right away.
Must Read : Vermiculture 101: How To Start A Worm Farm as a Business or a Hobby
How to Get Rid of Mites in Worm Bin: 8 Proven Methods
Here is the part you really came for. I have used all of these methods over the years on my own farm. Some work faster than others, and the best choice depends on how bad your mites in worm bin situation is.
1. Remove Problem Foods First
The fastest thing you can do is pull out whatever food the mites are clustering around. Wet, mushy foods like watermelon, cantaloupe, pumpkin, and overripe fruit are mite magnets. Put on your gloves and physically remove those food scraps. This alone can dramatically reduce mite populations within a couple of days.
Meme's Tip: After you place an order with us at Meme's Worms, I always include tips about what to feed your worms. Avoiding high-moisture fruits is one of the first things I tell new customers.
2. Use Diatomaceous Earth (DE)
Food-grade diatomaceous earth is my go-to recommendation for killing mites in worm bin situations. DE is made from fossilized algae and it works by physically damaging the exoskeleton of mites when they crawl through it. Sprinkle a thin layer on top of your bedding. It will not harm your worms but it will take care of mites that move across it. Always use food-grade DE only.
3. Dry Out the Bin
Most mite species need moisture to survive. According to research published in the Journal of Allergy and Clinical Immunology, mites are highly susceptible to drying conditions and exposure to low humidity. If your bin has become too wet, add dry bedding like shredded cardboard, newspaper, or coconut coir to absorb excess moisture. Reducing moisture alone is often enough to crash the mite population.
Relevant Product: Coconut Coir Bedding from Meme's Worms is perfect for absorbing excess moisture and rebalancing your bin. It is also a great worm food and bedding in one.
4. Use Moistened Newspaper Traps
This is an old trick and it really works for white mites in worm bin and brown mites too. Lay a few sheets of damp newspaper or a piece of moistened burlap right on top of your bedding at night. Mites are attracted to the moisture. By morning you will find them clustered on the newspaper. Pick it up and drop it in a bucket of water or into the trash. Repeat every night for a week.
5. Expose the Bin to Indirect Light
Mites hate light and open air. The University of Illinois Extension notes that worms should be kept out of direct sunlight, so I am not saying to put your worms in the hot sun. What I am saying is: take the lid off your bin for an hour in a shaded area. The open air and indirect light will make mites uncomfortable and encourage them to retreat or die off. Even 30 to 60 minutes a day makes a difference over time.
6. Apply Neem Oil
A study published in the National Center for Biotechnology Information found that neem oil and neem extract can reduce mite populations by up to 80 percent within one week. Spray a diluted neem oil solution onto the surface of your bedding every three days. Research has also confirmed that neem oil at recommended dosages is safe for earthworms. It is one of the best natural options for eliminating red mites in worm bin setups.
7. Use a Sulfur Dust
According to a fact sheet from the National Pesticide Information Center, sulfur has been used to kill mites since the 1920s. Lightly dusting the surface of your bin with sulfur powder after flooding the bedding with water can help surface mites while your worms stay deep in the bedding. Do check your bin pH before and after using sulfur since it can shift the acidity. Cornell University composting resources recommend aerating the compost to bring pH back toward neutral if needed.
8. Use a Watermelon Rind as Bait
Place a watermelon rind or a slice of potato just outside or on the edge of your bin with the lid open. Mites will flood to it. After a few hours, remove the rind and either drop it in boiling water or seal it in a bag and trash it. This method removes a huge number of mites in one shot without disturbing your worms at all.
How to Prevent Mites in Worm Bin Long Term
Once you get rid of mites in worm bin, keeping them out is all about maintaining the right environment. Here is what I do on my own farm:
- Maintain proper moisture: Your bedding should feel like a wrung-out sponge. Not dripping. Not bone dry.
- Feed in small amounts: Only add as much food as your worms can consume in a few days. Uneaten wet food invites mites.
- Add crushed eggshells: Eggshells add calcium and raise pH slightly. A neutral pH discourages mite populations.
- Use dry carbon-rich bedding as a top layer: Shredded cardboard or dry leaves act as a barrier that mites do not like to cross.
- Seal gaps and cracks: Check your bin regularly for cracks where mites can enter from outside.
- Wash hands before handling your bin: Mites can hitchhike from your garden on your hands and clothes.
Keep the area around the bin clean: Remove any leaves, dirt, or debris from around your bin that could harbor mite populations.
Relevant Products from Meme's Worms: Composting Additives Collection - includes coco coir and other bin-balancing supplies that help you maintain the right moisture and carbon levels to prevent mite outbreaks. Worm Bins Collection - well-sealed, purpose-built bins with proper ventilation help keep pest mites out while giving your worms a healthy home. Red Wiggler Composting Worms - a strong, healthy worm population is your best defense. When your worm numbers are high, mites have less room to take over.
My Final Thoughts on Mites in Worm Bin
Finding mites in worm bin is not the end of the world, and it is definitely not a reason to give up on composting. Every worm farmer runs into this at some point. I certainly have. The most important thing is to catch it early, identify what type of mite you are dealing with, and take the right steps to bring your bin back into balance.
Remember: a healthy bin with the right moisture, the right amount of food, and strong bedding is your best defense against mite problems. Keep those conditions right and your worms will do the rest.
If you are looking to start fresh or boost your worm population after a mite problem, check out our Red Wiggler Composting Worms and European Nightcrawlers right here at Meme's Worms. I personally raise every batch and ship them with a live arrival guarantee. As always, if you have questions, just call me directly at 229-507-0203. That is what I am here for.





Leave a comment
All comments are moderated before being published.
This site is protected by hCaptcha and the hCaptcha Privacy Policy and Terms of Service apply.